More fun and games
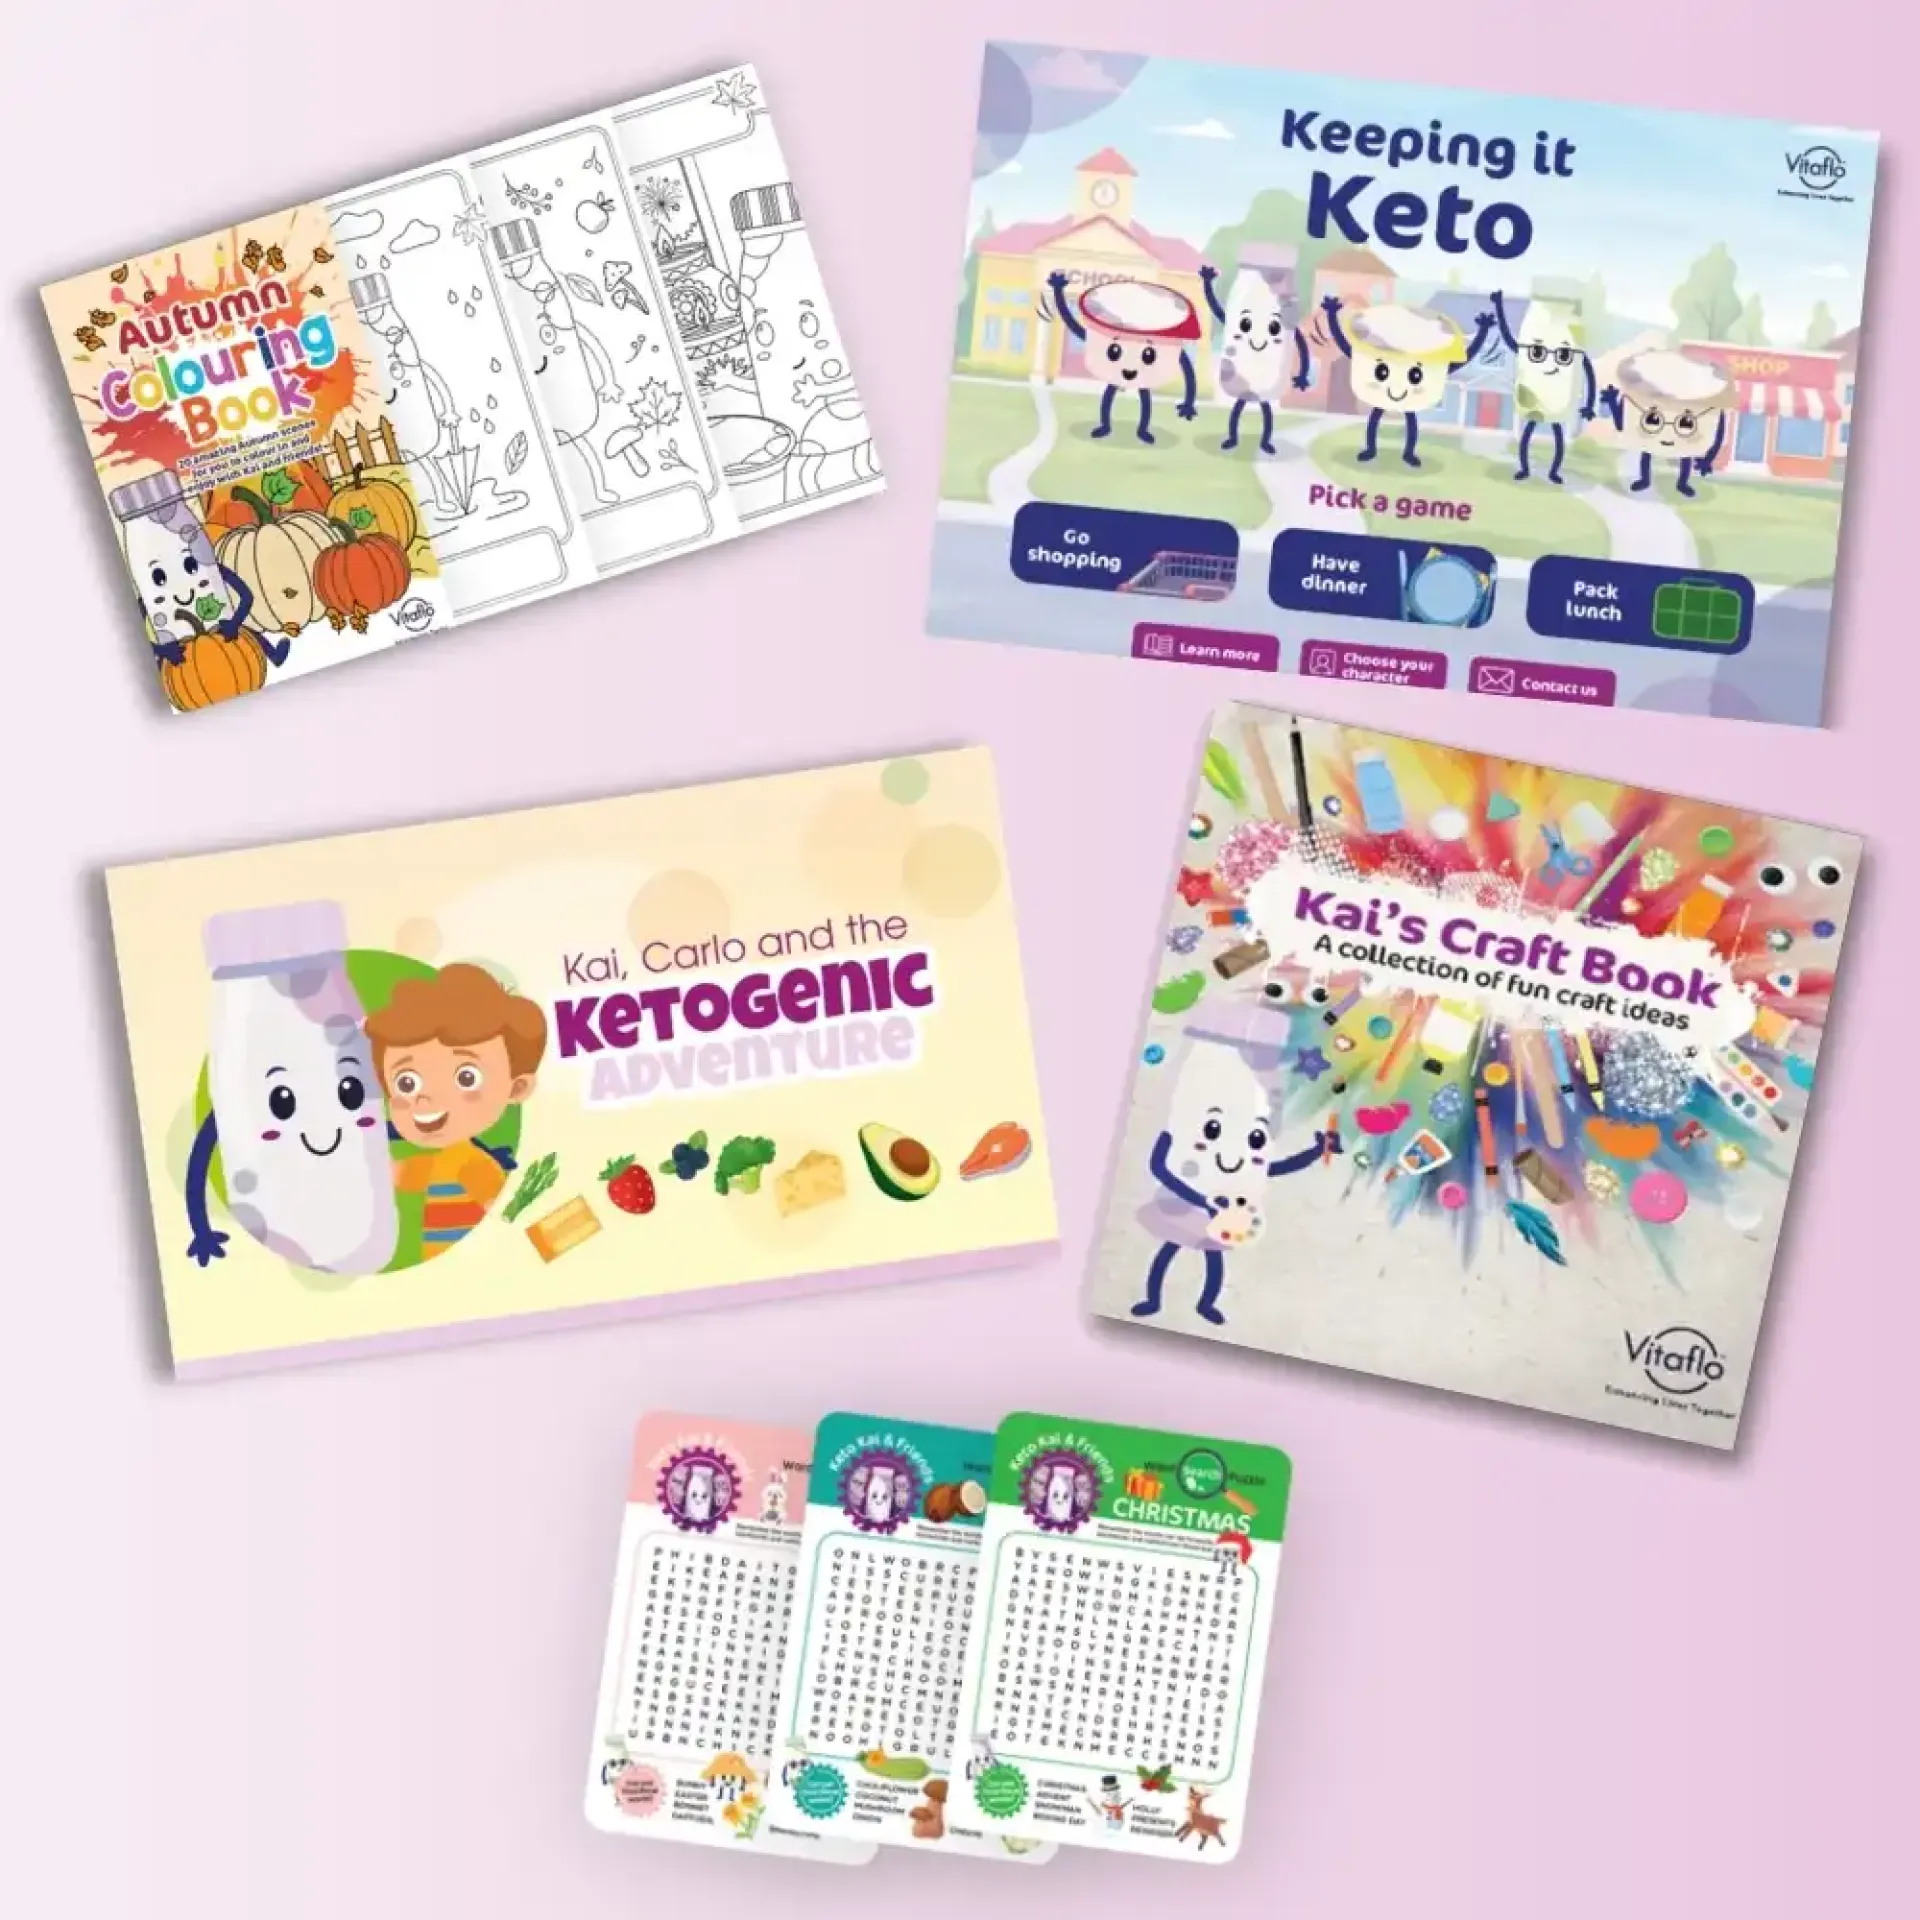
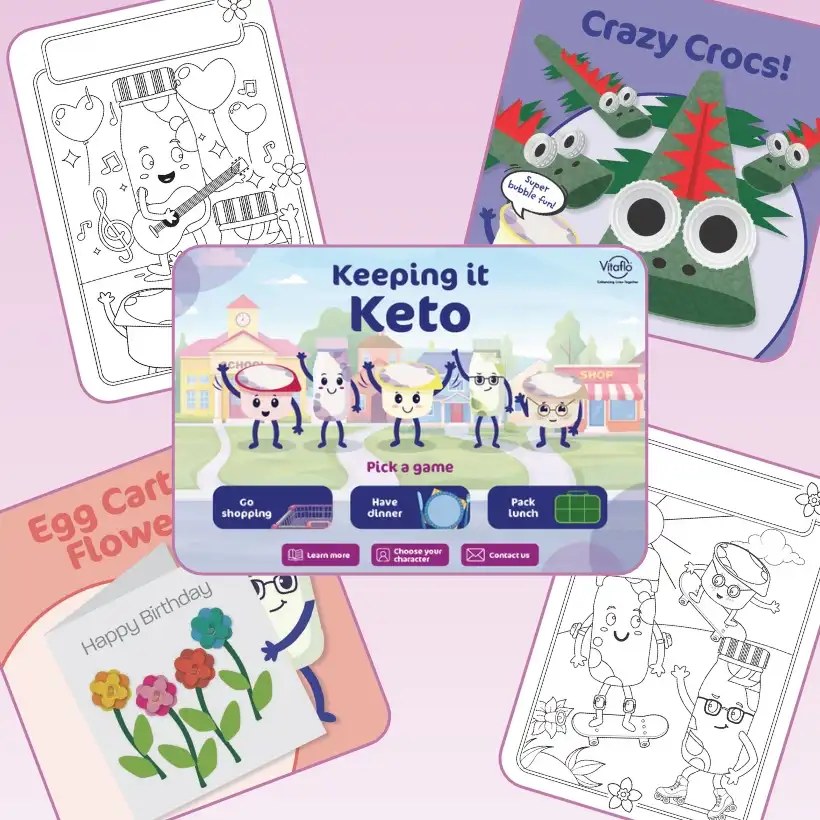
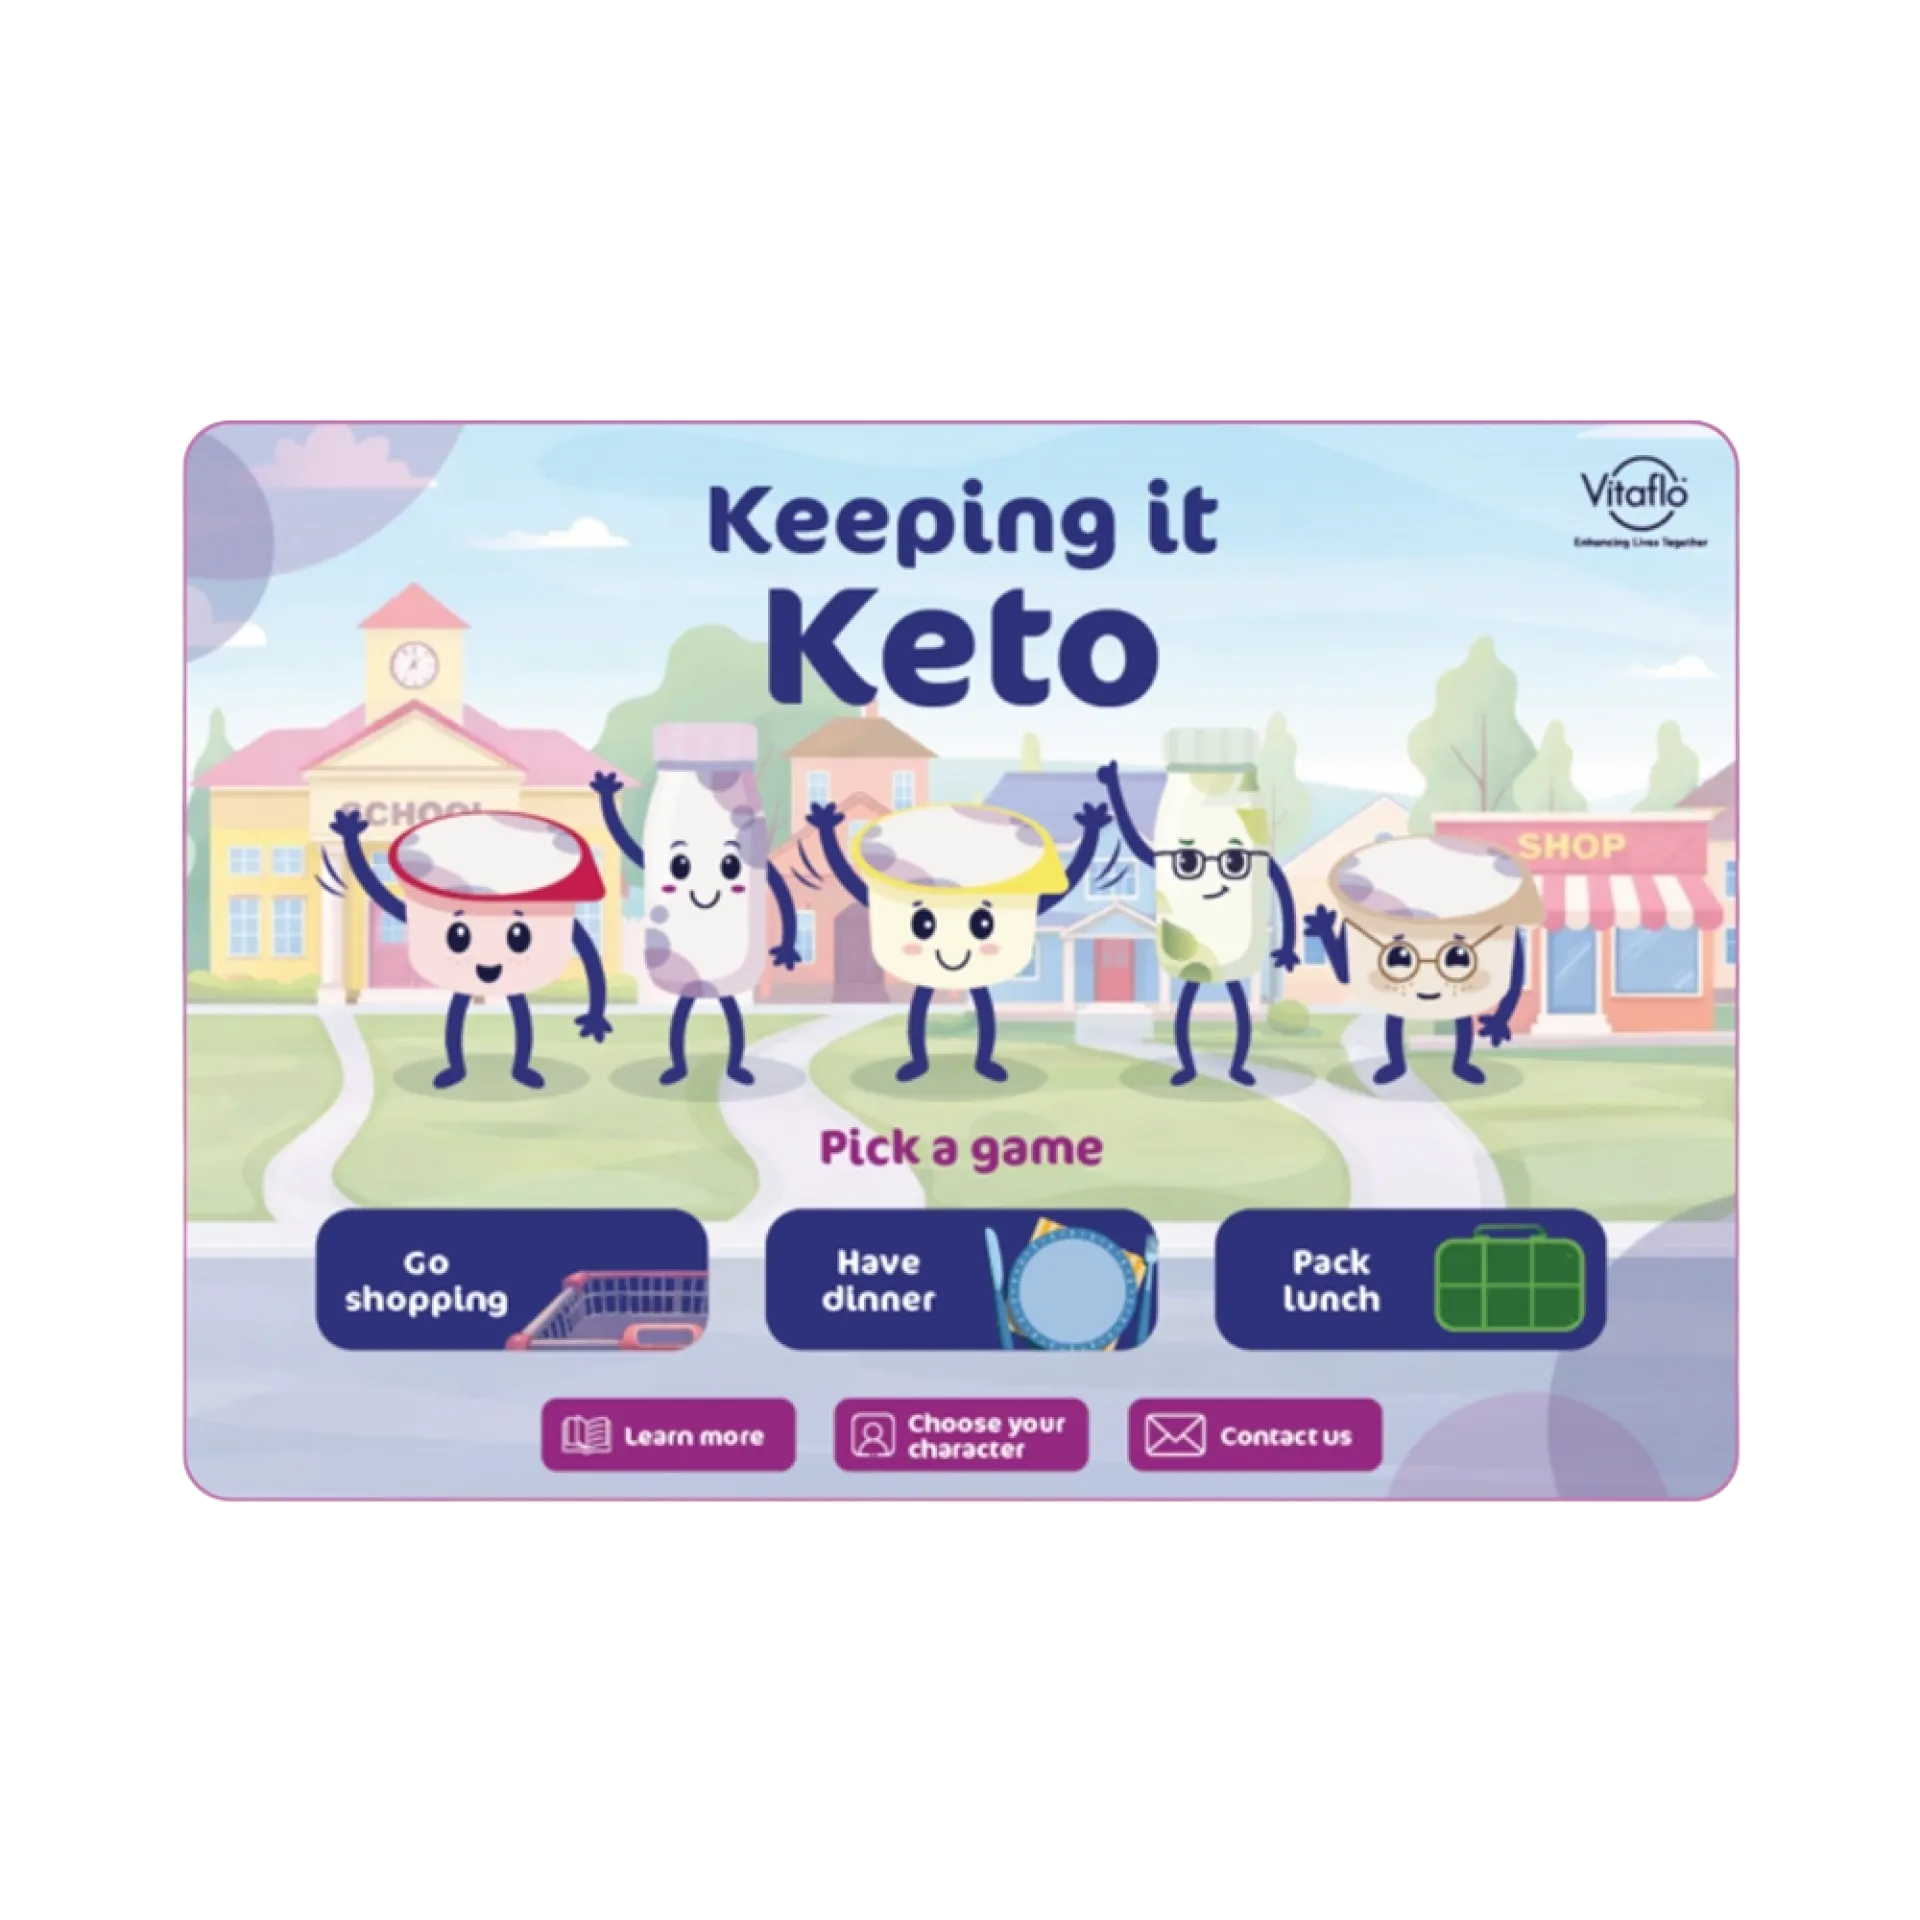
There's even more fun to be had with the Keto Klub! From colourful creations and exciting crafts to interactive games, discover plenty more fun and educational activities.
Keto colouring activities
Grab your colouring pencils and get creative, choose your scene and add your favourite colours to bring the Keto Klub characters to life! Simply download, print and you are ready to go.
An adventure with the Keto Klub!
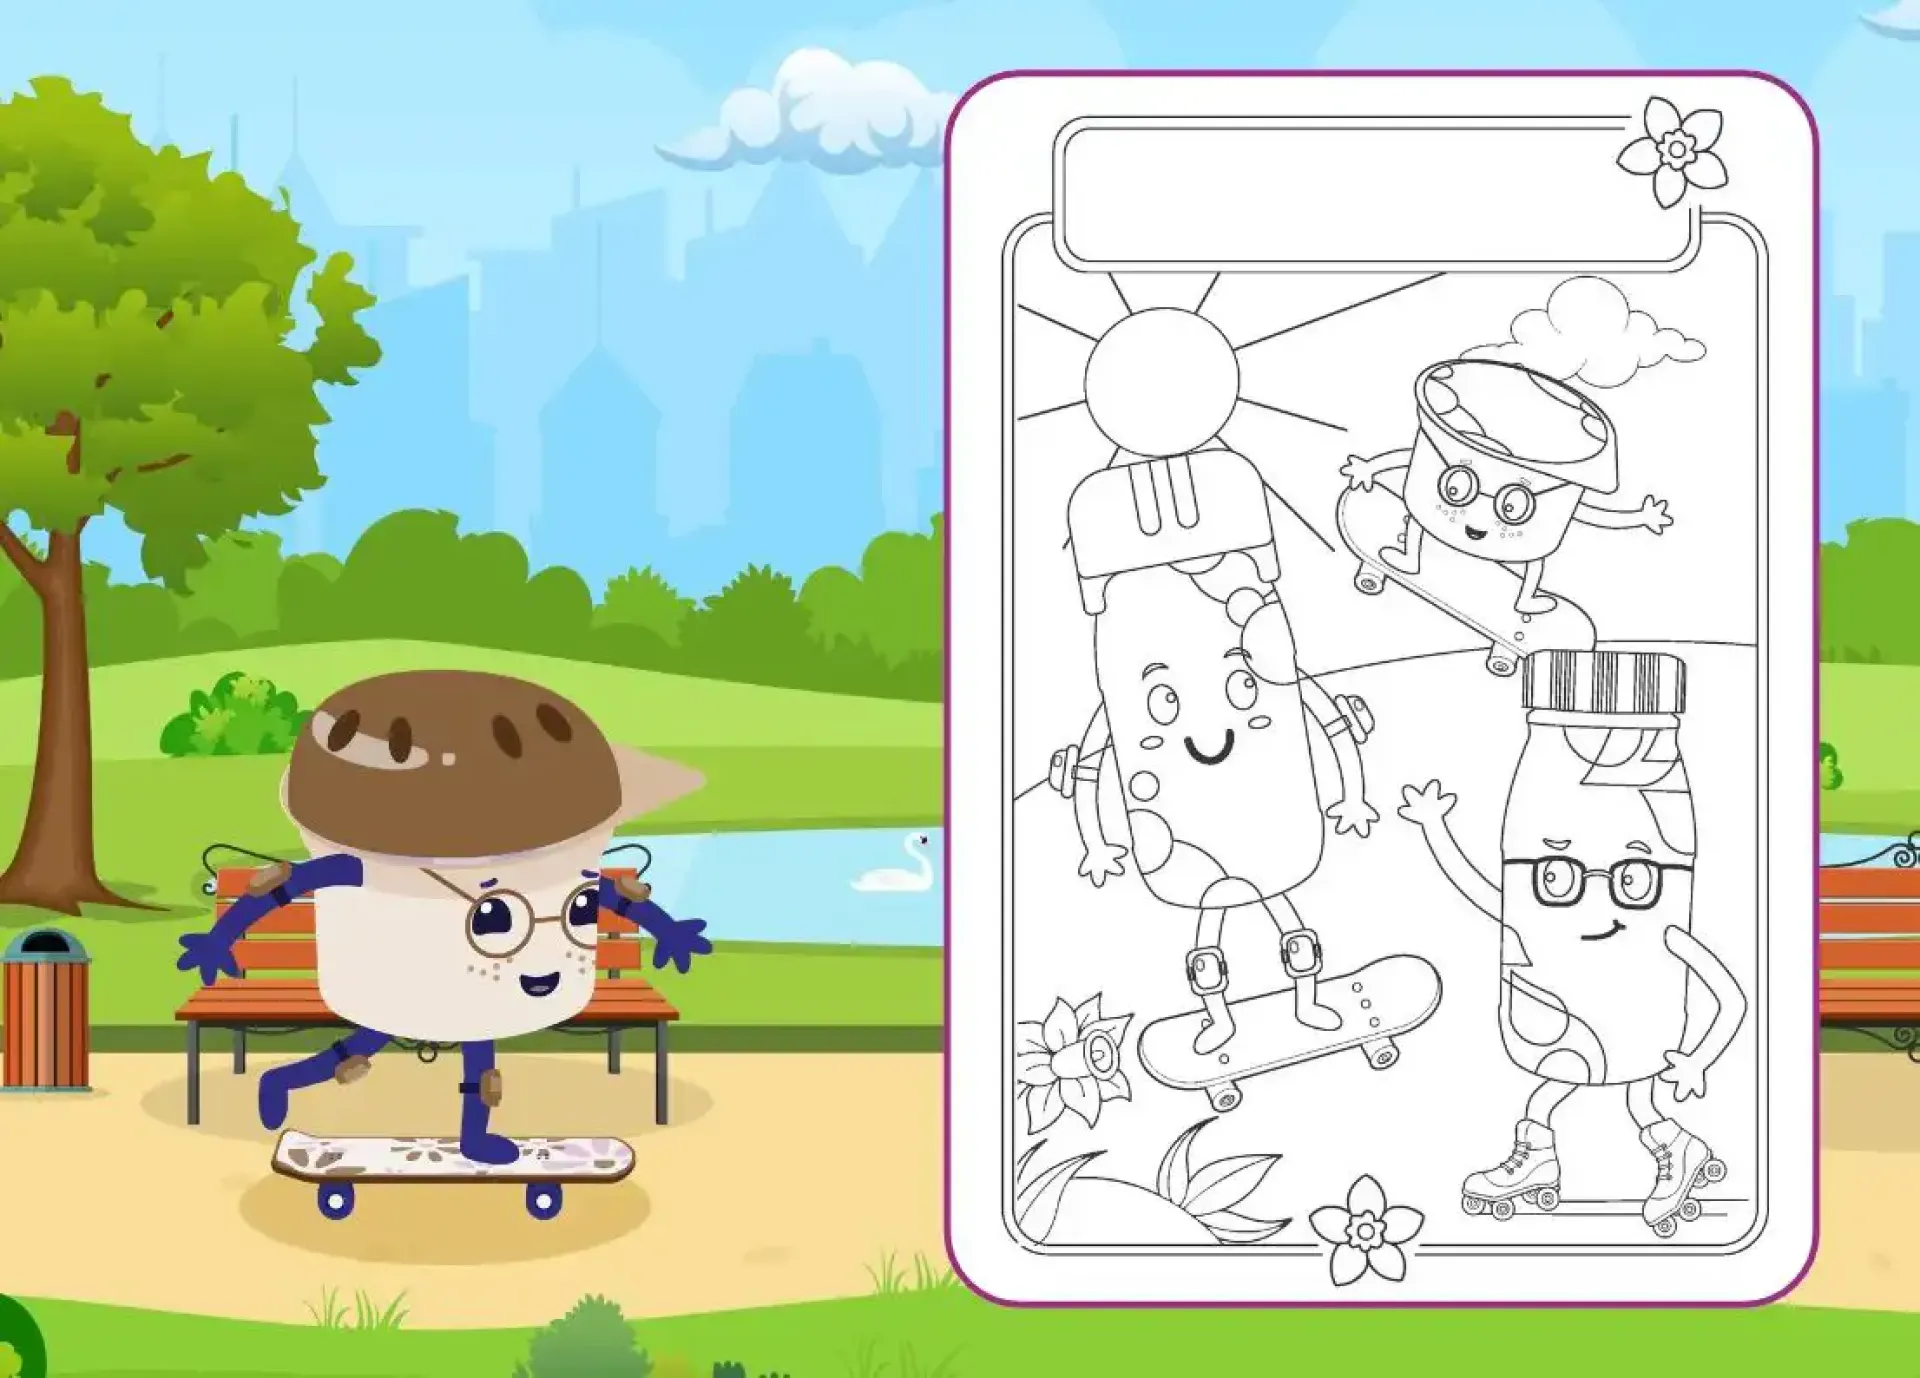
Kai, Kit and Kody are out enjoying their day in the sunshine! Grab your colouring pencils and bring their outdoor activities to life.
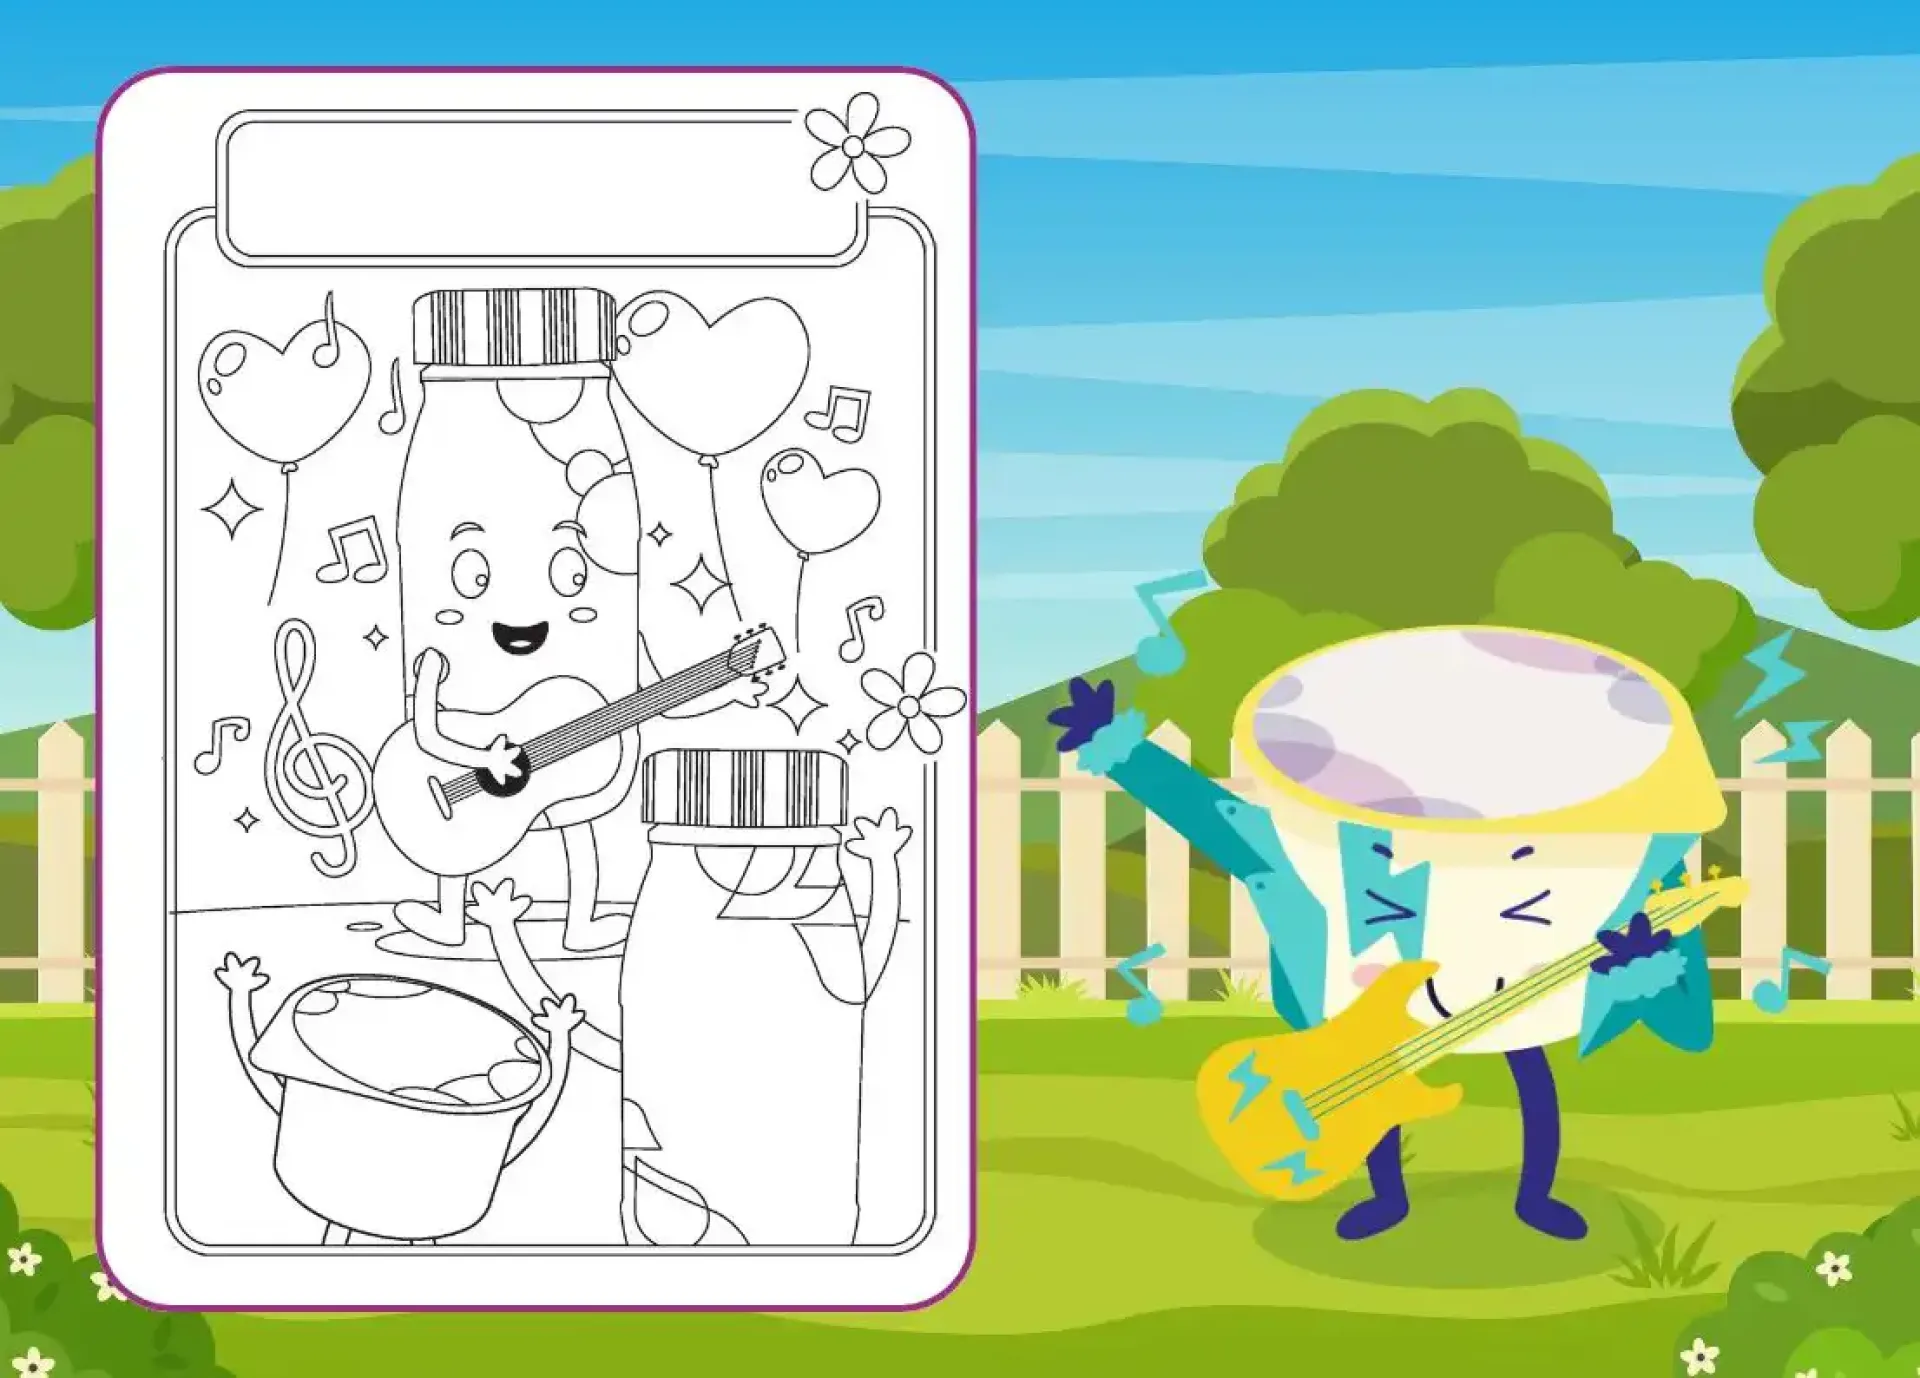
Let's make some music!
It's time to make some noise with the Keto Klub! Join your favourite characters as they play their musical instruments and get creative bringing this musical scene to life with a splash of colour.
Get crafty with the Keto Klub!
Ready to get creative? From cutting and sticking to making your very own creations, there's plenty to explore. Gather your materials and let's get started!
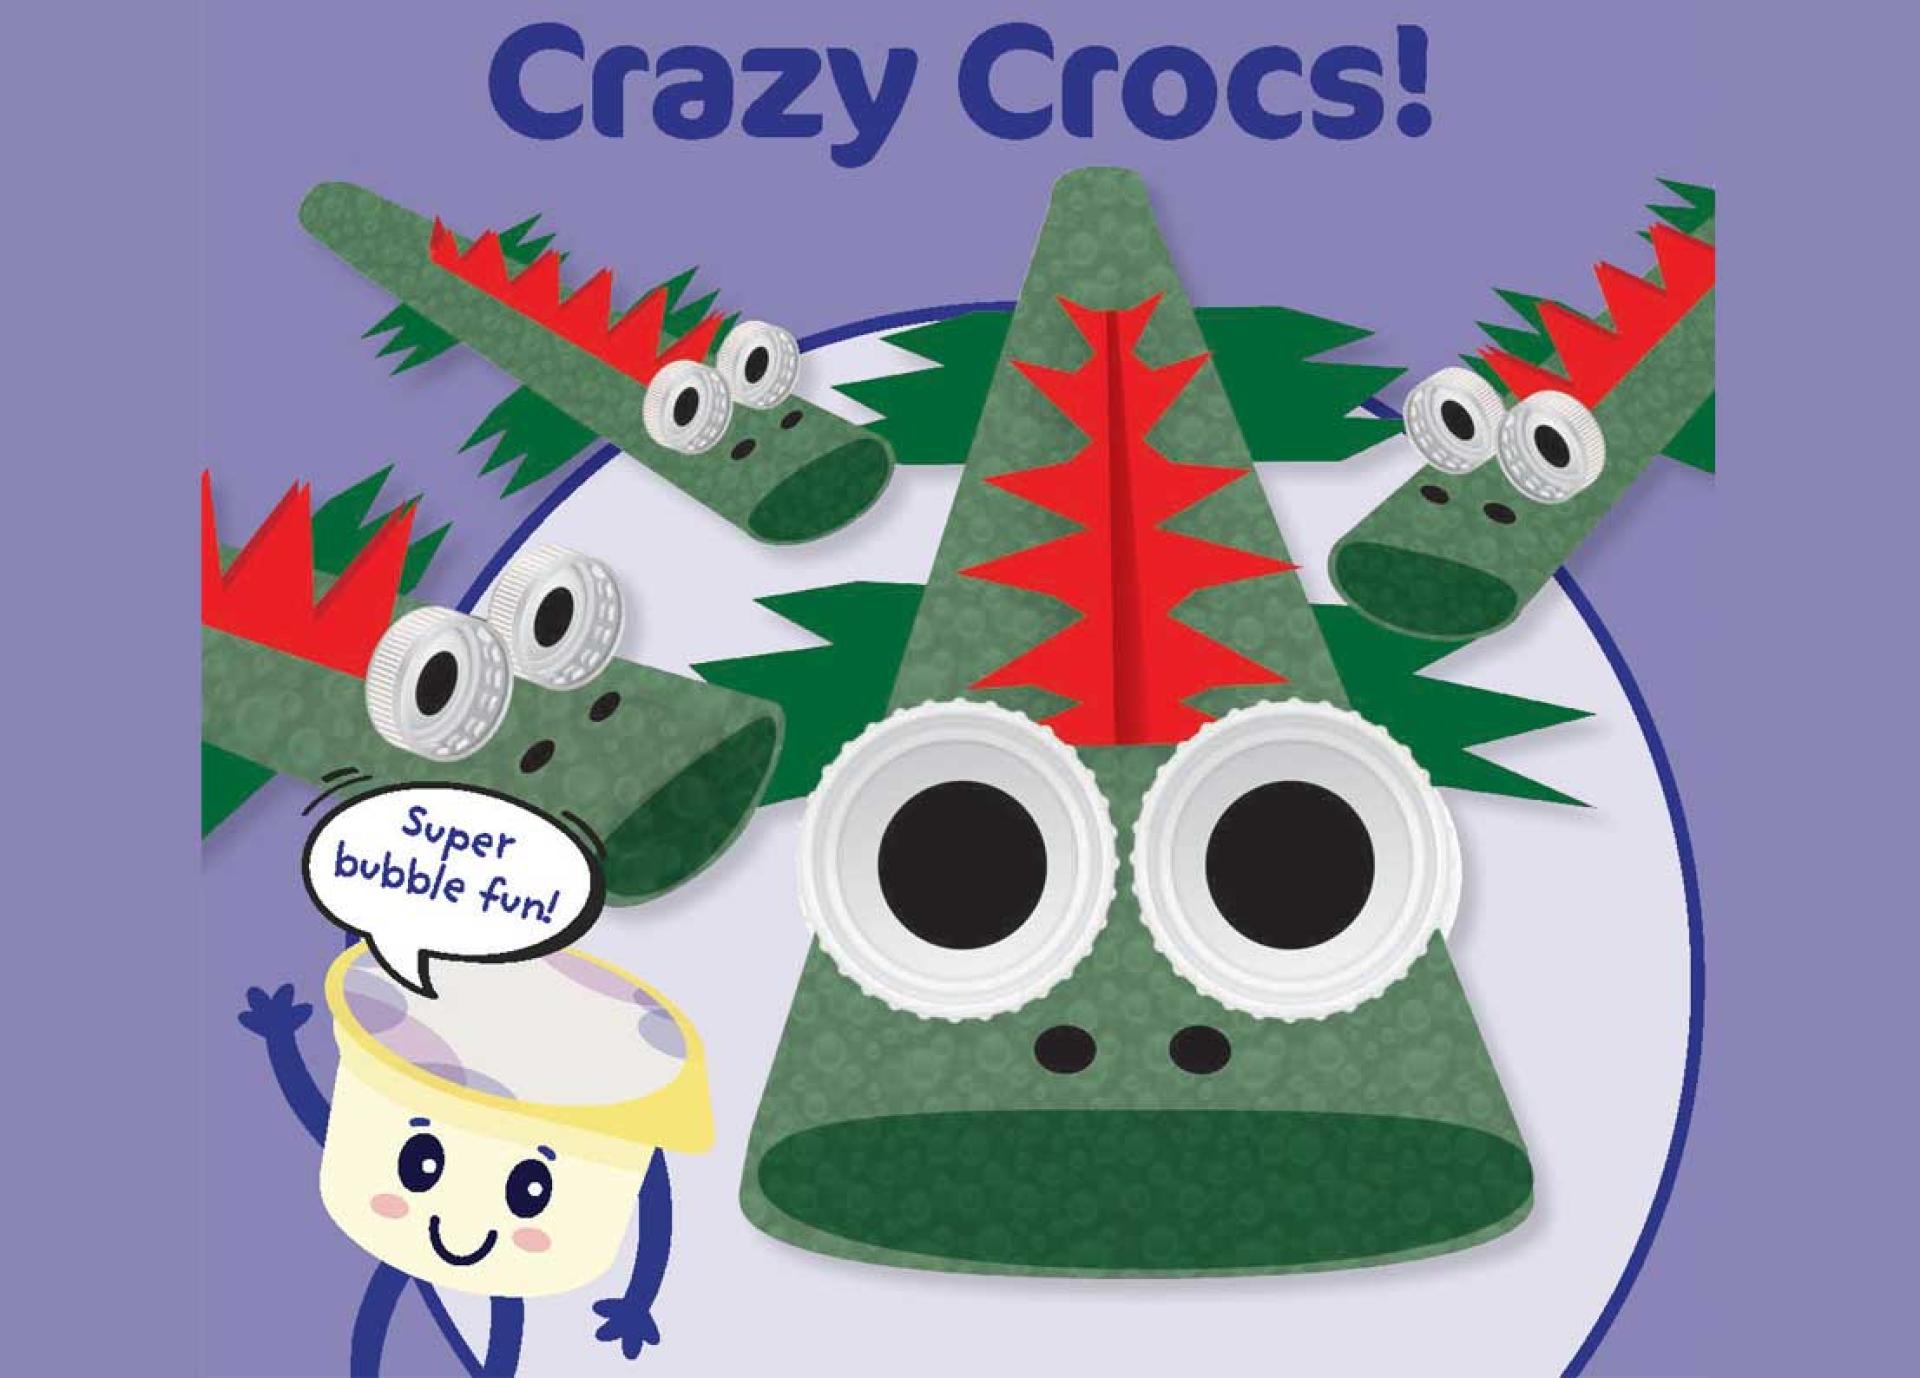
Crazy crocs!
Its time to make your very own crazy croc! Follow the simple steps below and bring your new crocodile friend to life.
You will need:
- Bubble wrap
- Paper towel roll
- Scissors
- Acrylic paint (green and black)
- Bottle tops
- Cardboard
- Tape
- Construction paper (red)
- Glue
Step 1
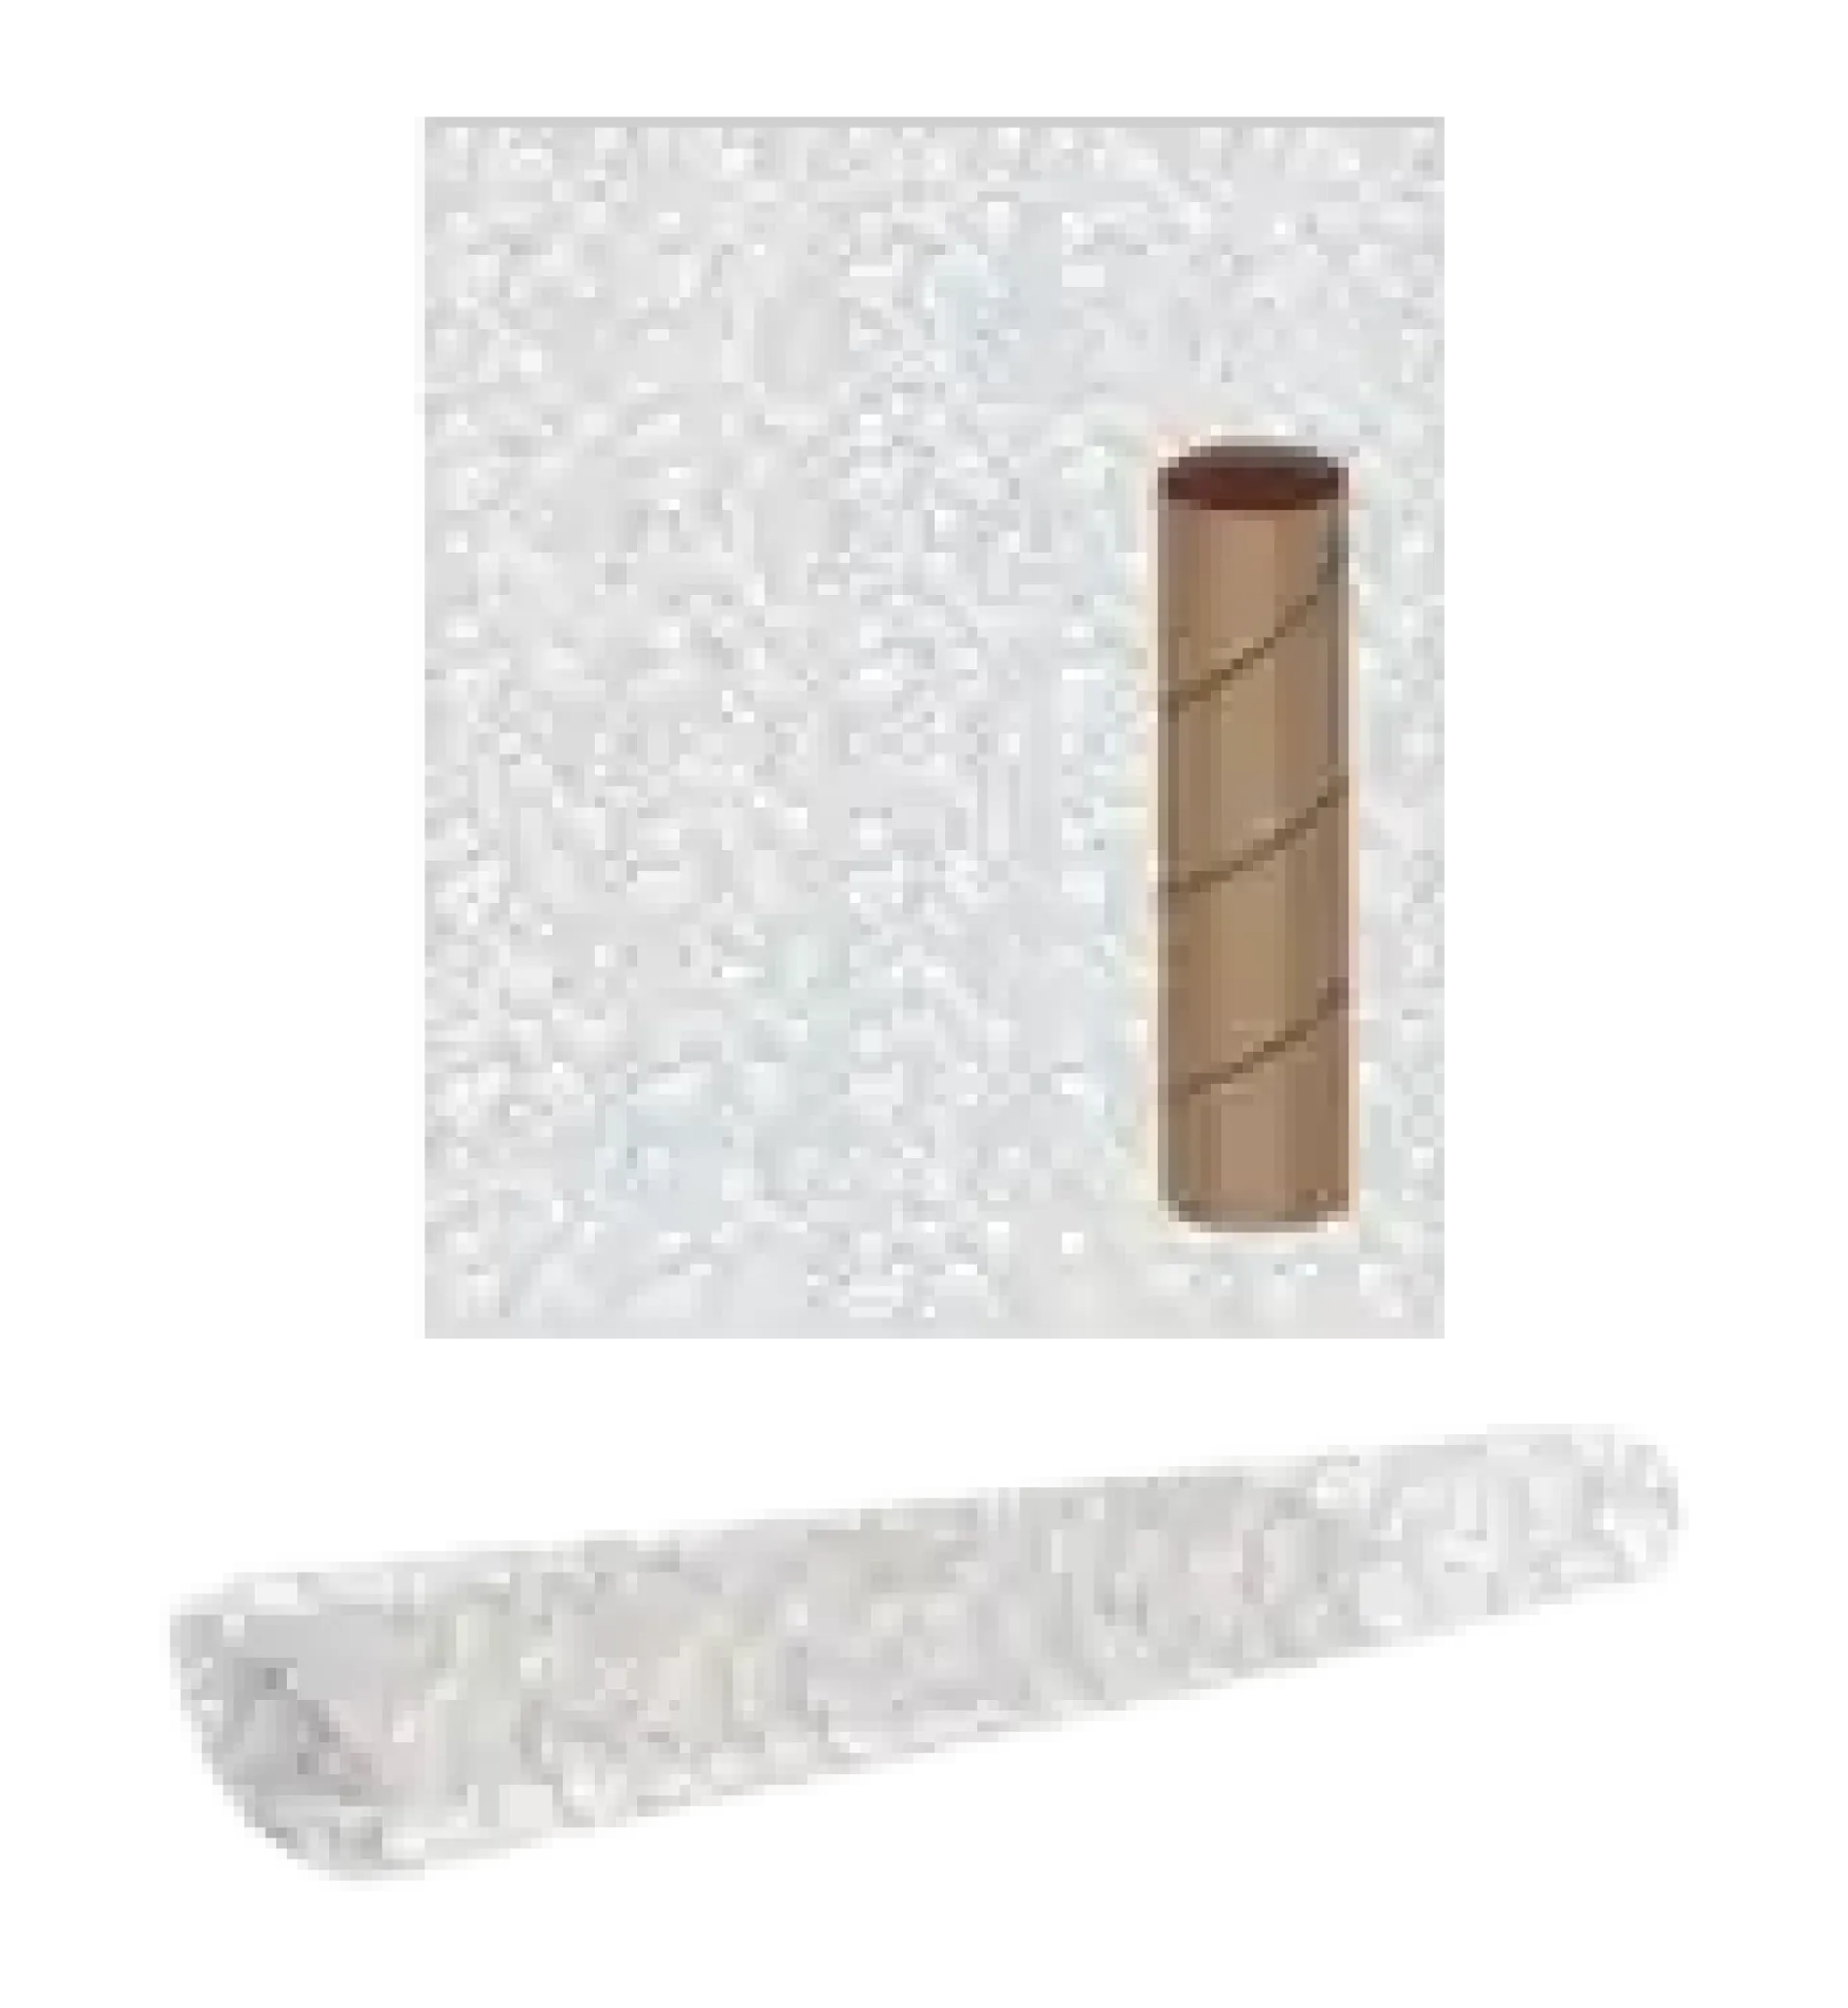
Take your paper towel roll and wrap it in bubble wrap. Position the roll closer to one end of the bubble wrap, creating the head and tail ends.
Tuck the wrap into the head end then use a small amount of tape to seal each end and secure the overlap underneath. Flatten the roll slightly.
Step 2
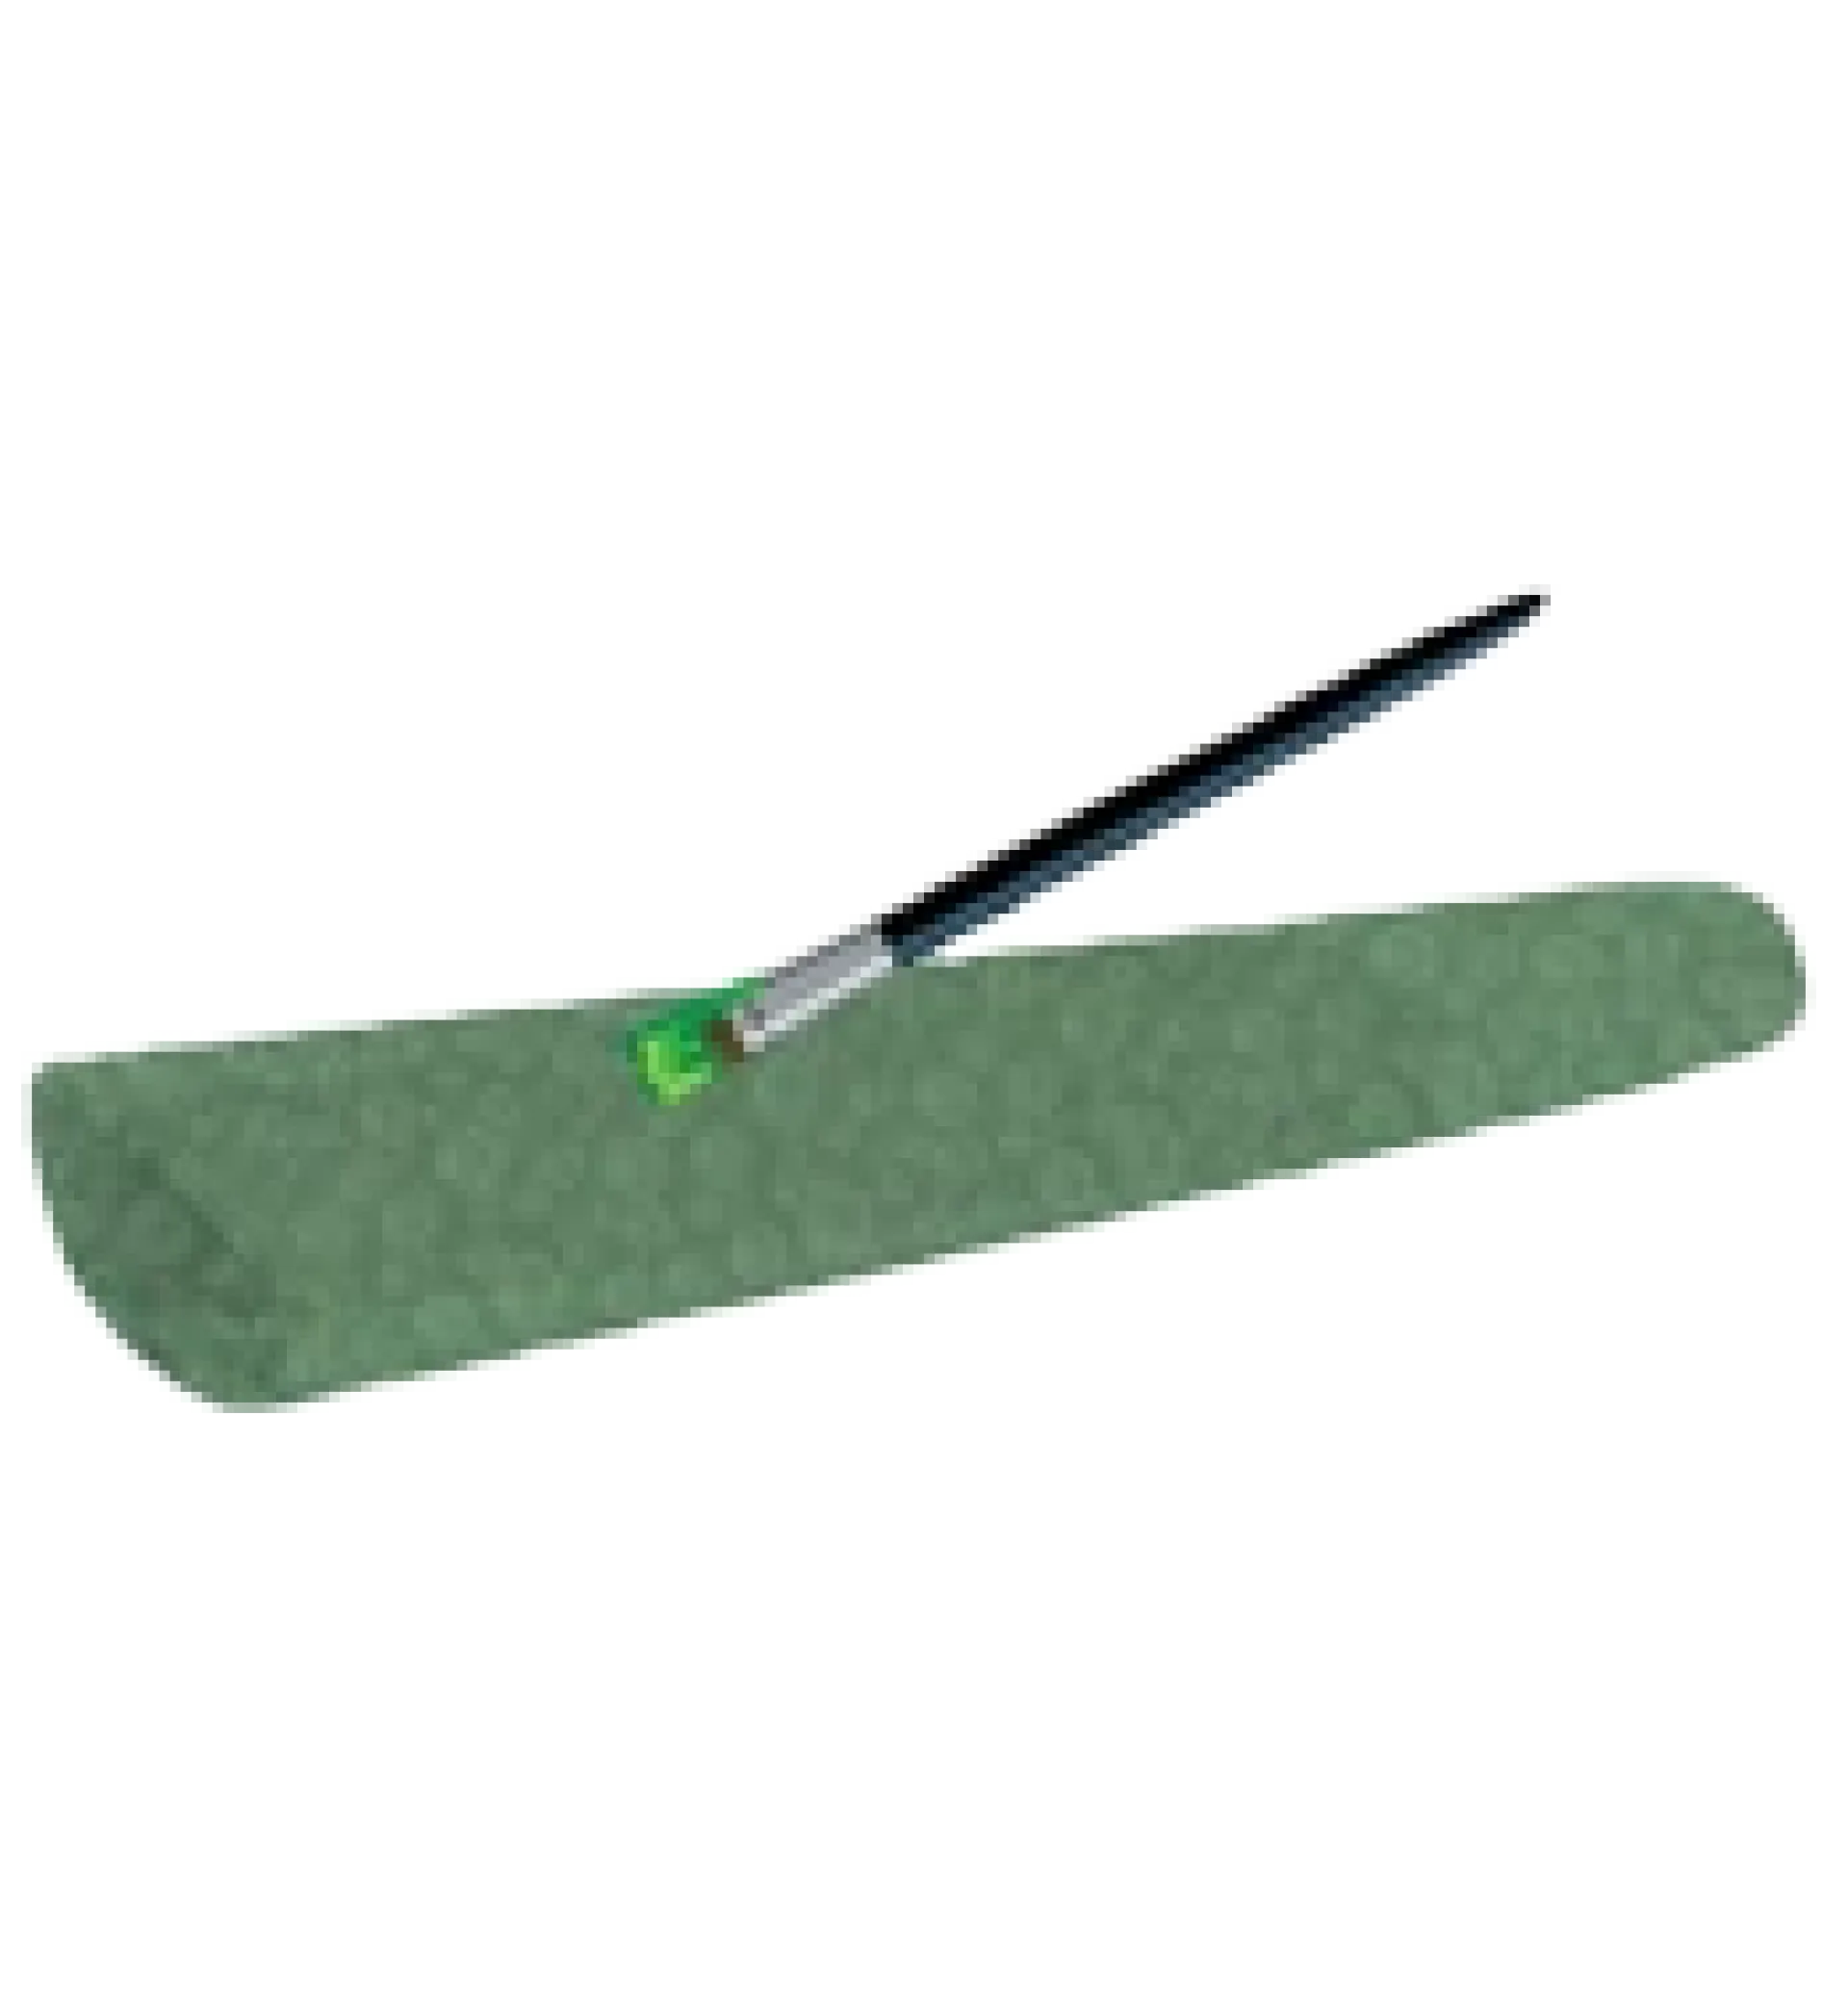
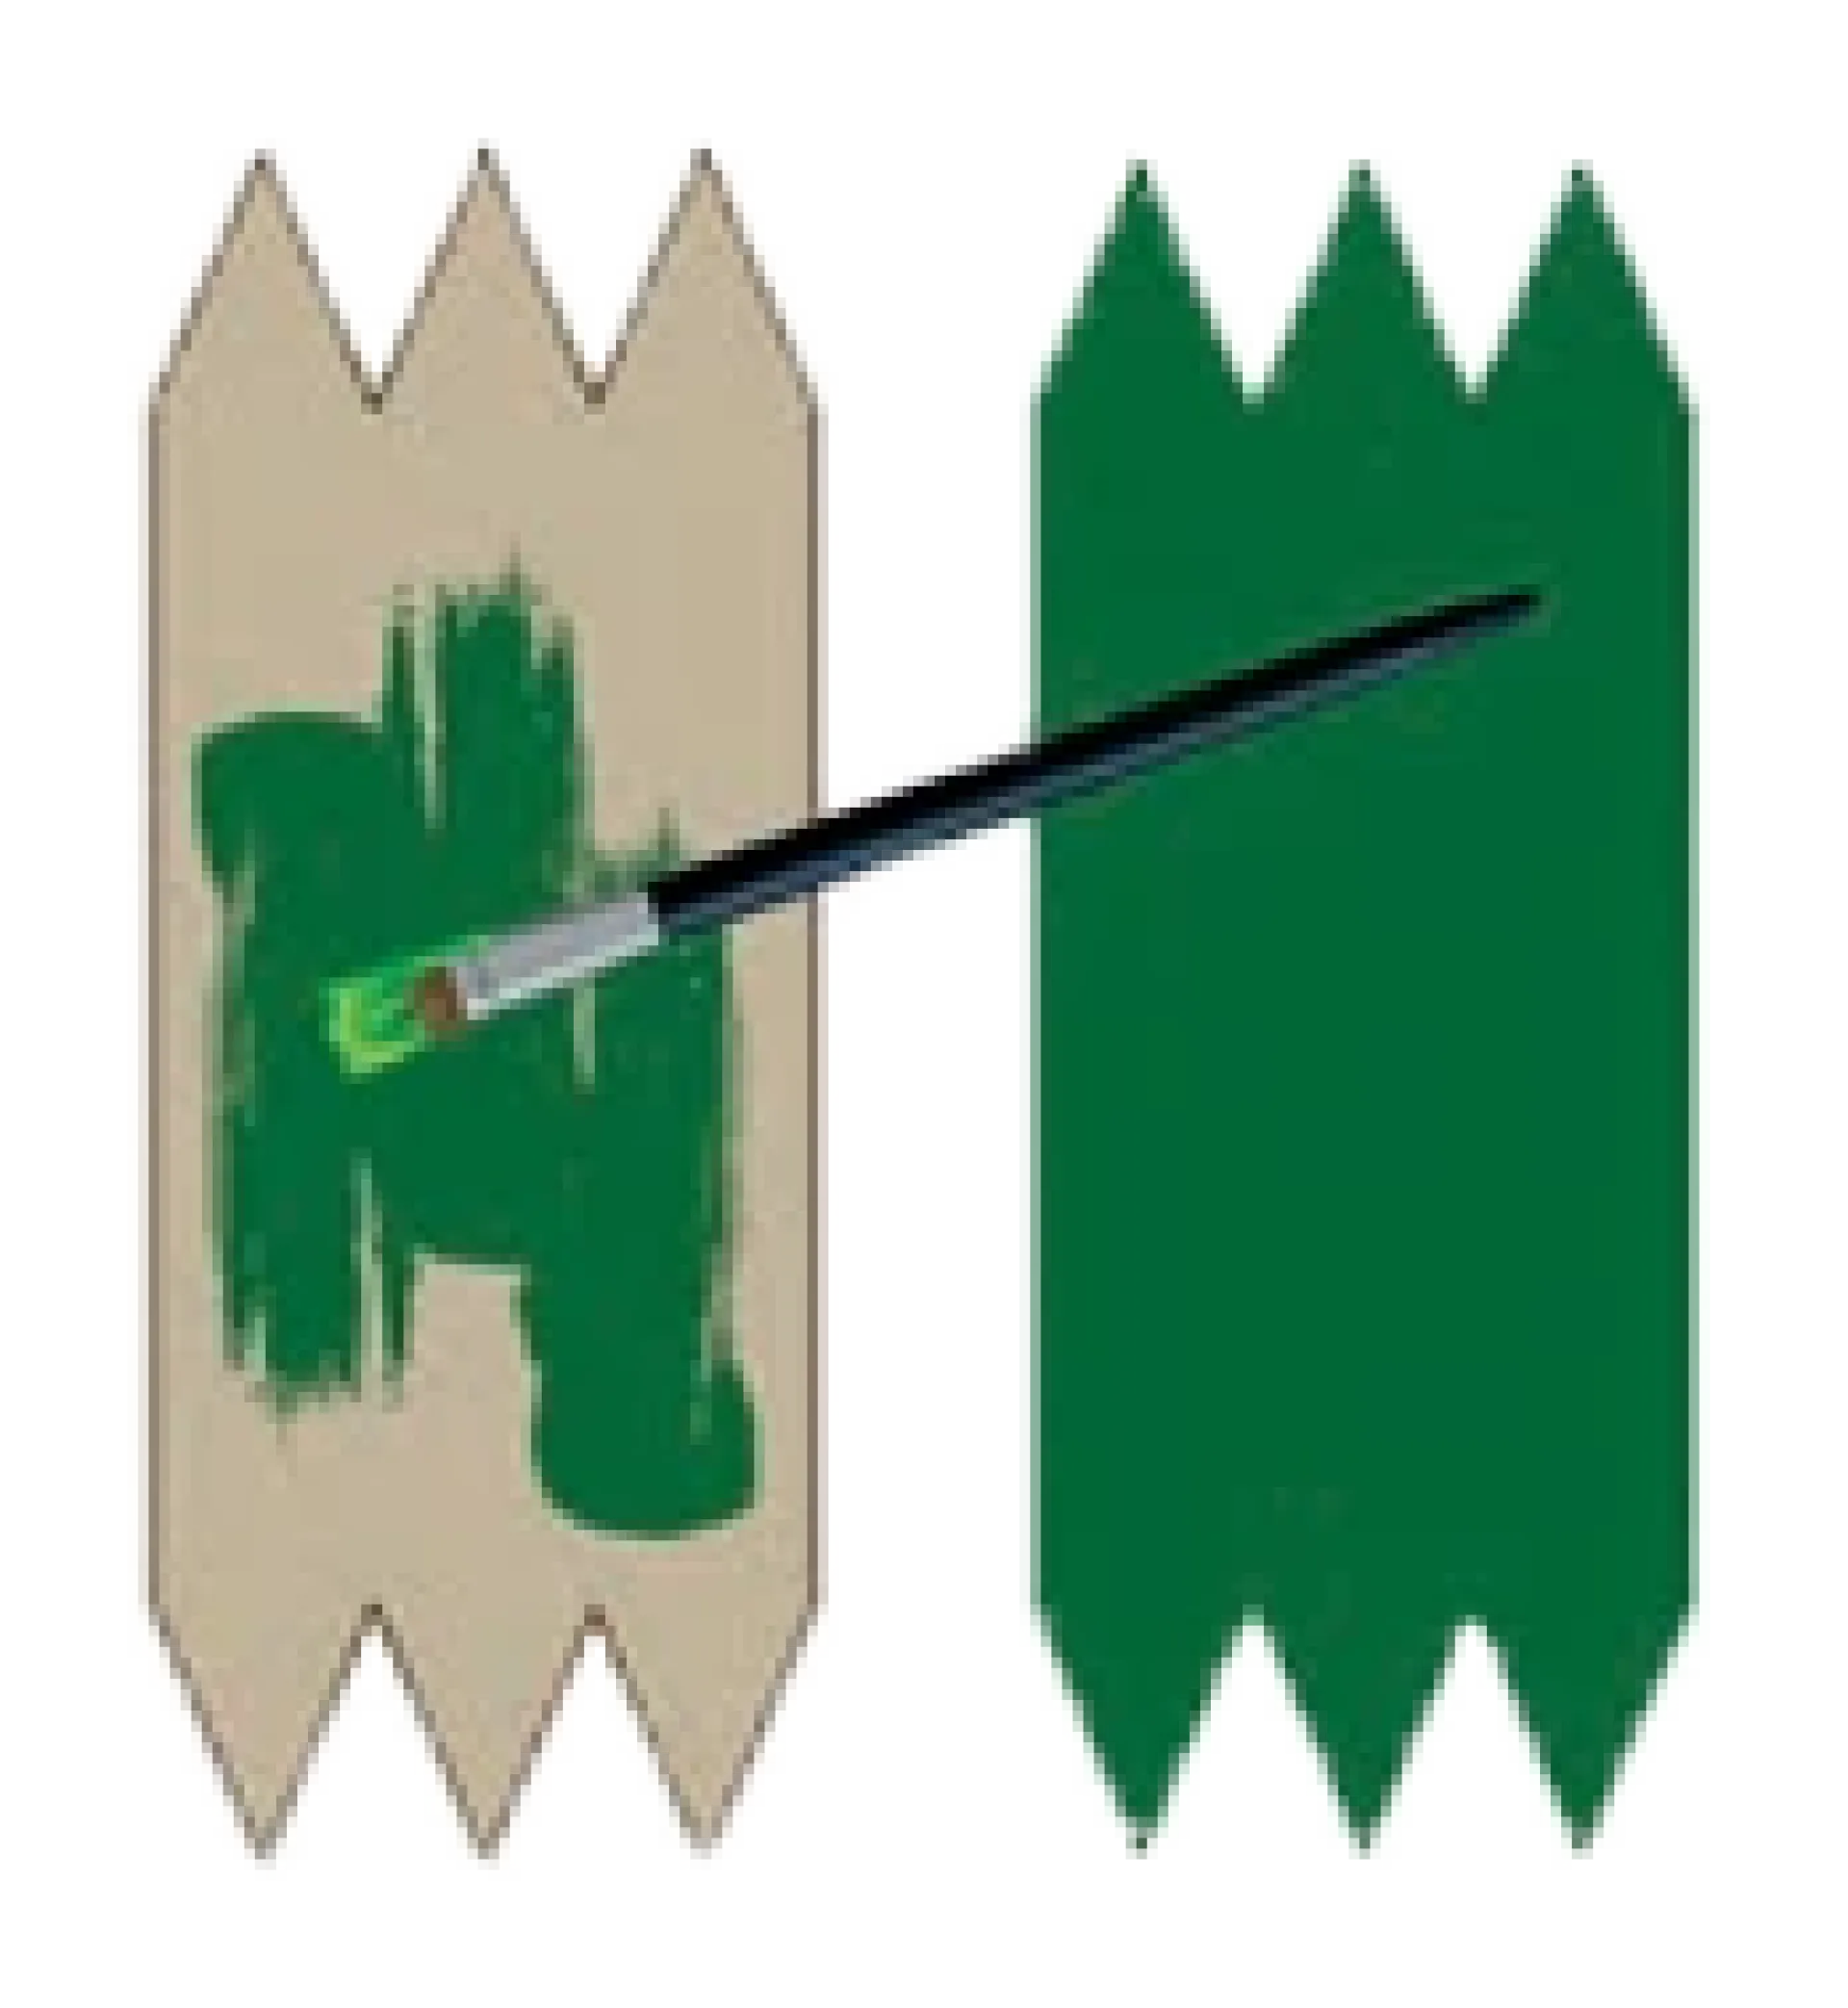
Paint your crocodile body green and leave it until it is dry.
Step 3
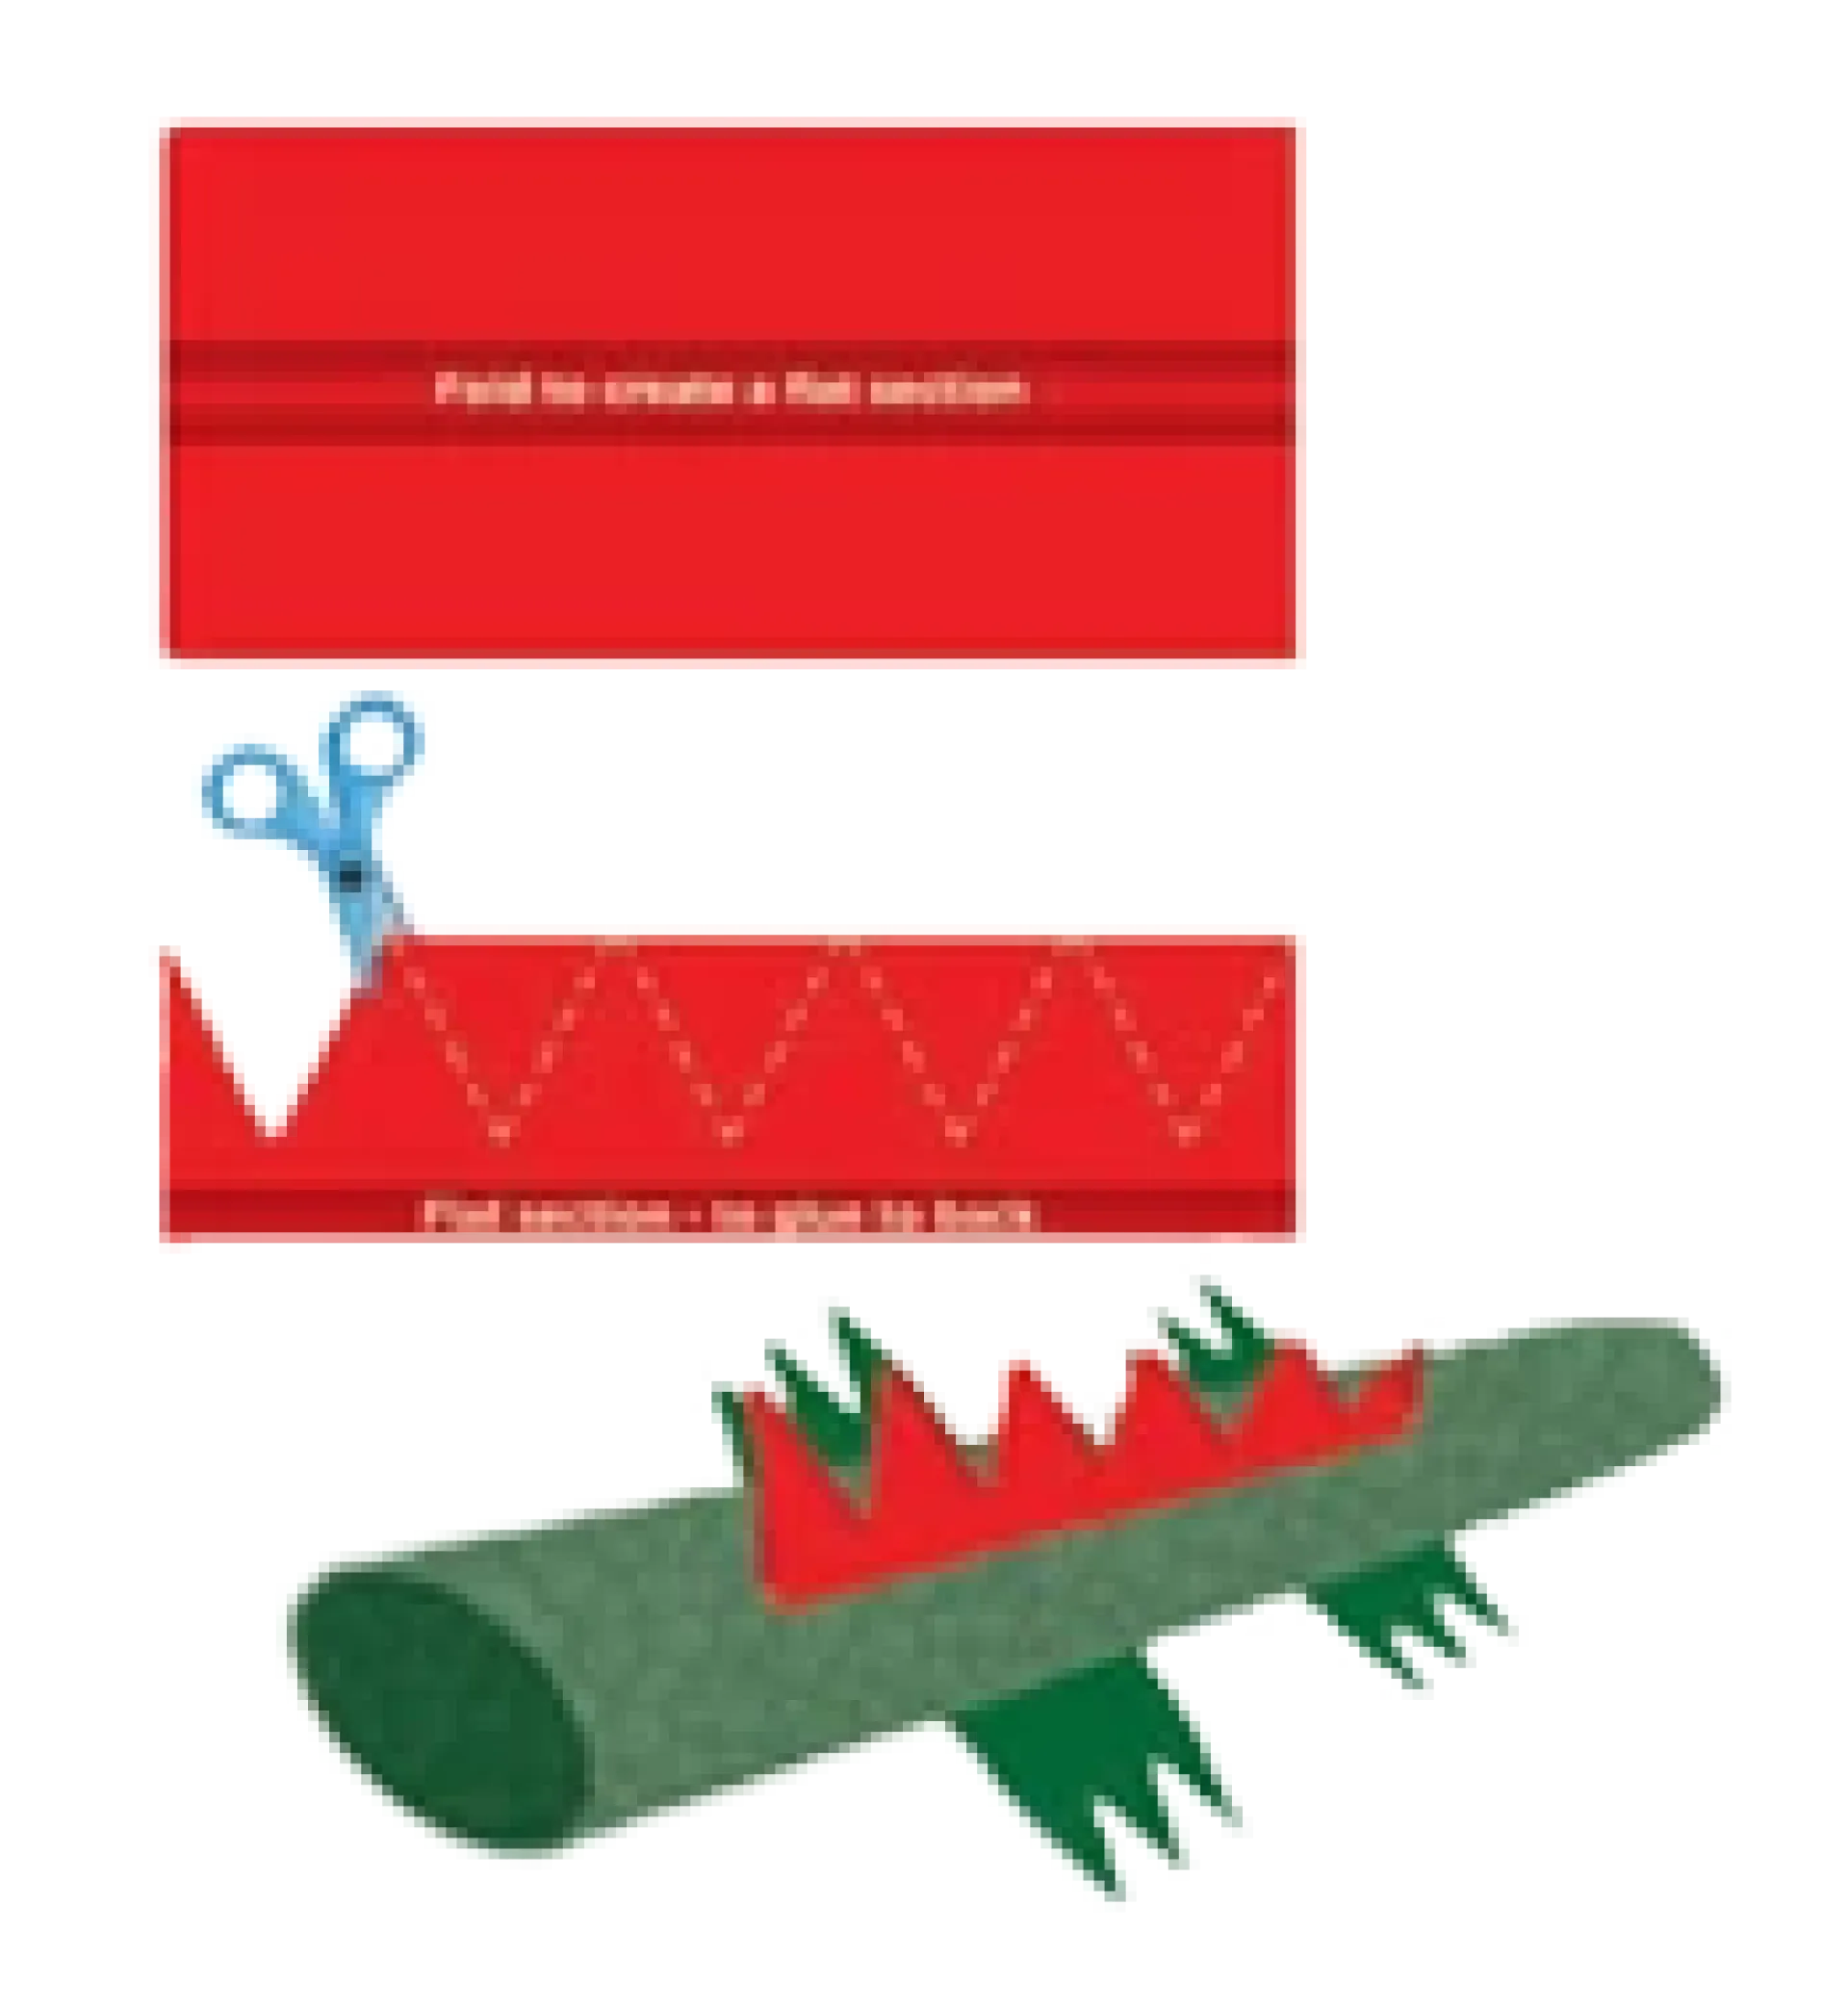
Take a piece of cardboard and cut out the feet. You need two of these shapes. Paint them green and let them dry.
Step 4
Use the red craft paper to create spine in a zig zag shape and glue it to the back of the body. Once your feet are dry, glue these to the underneath of the body.
Step 5
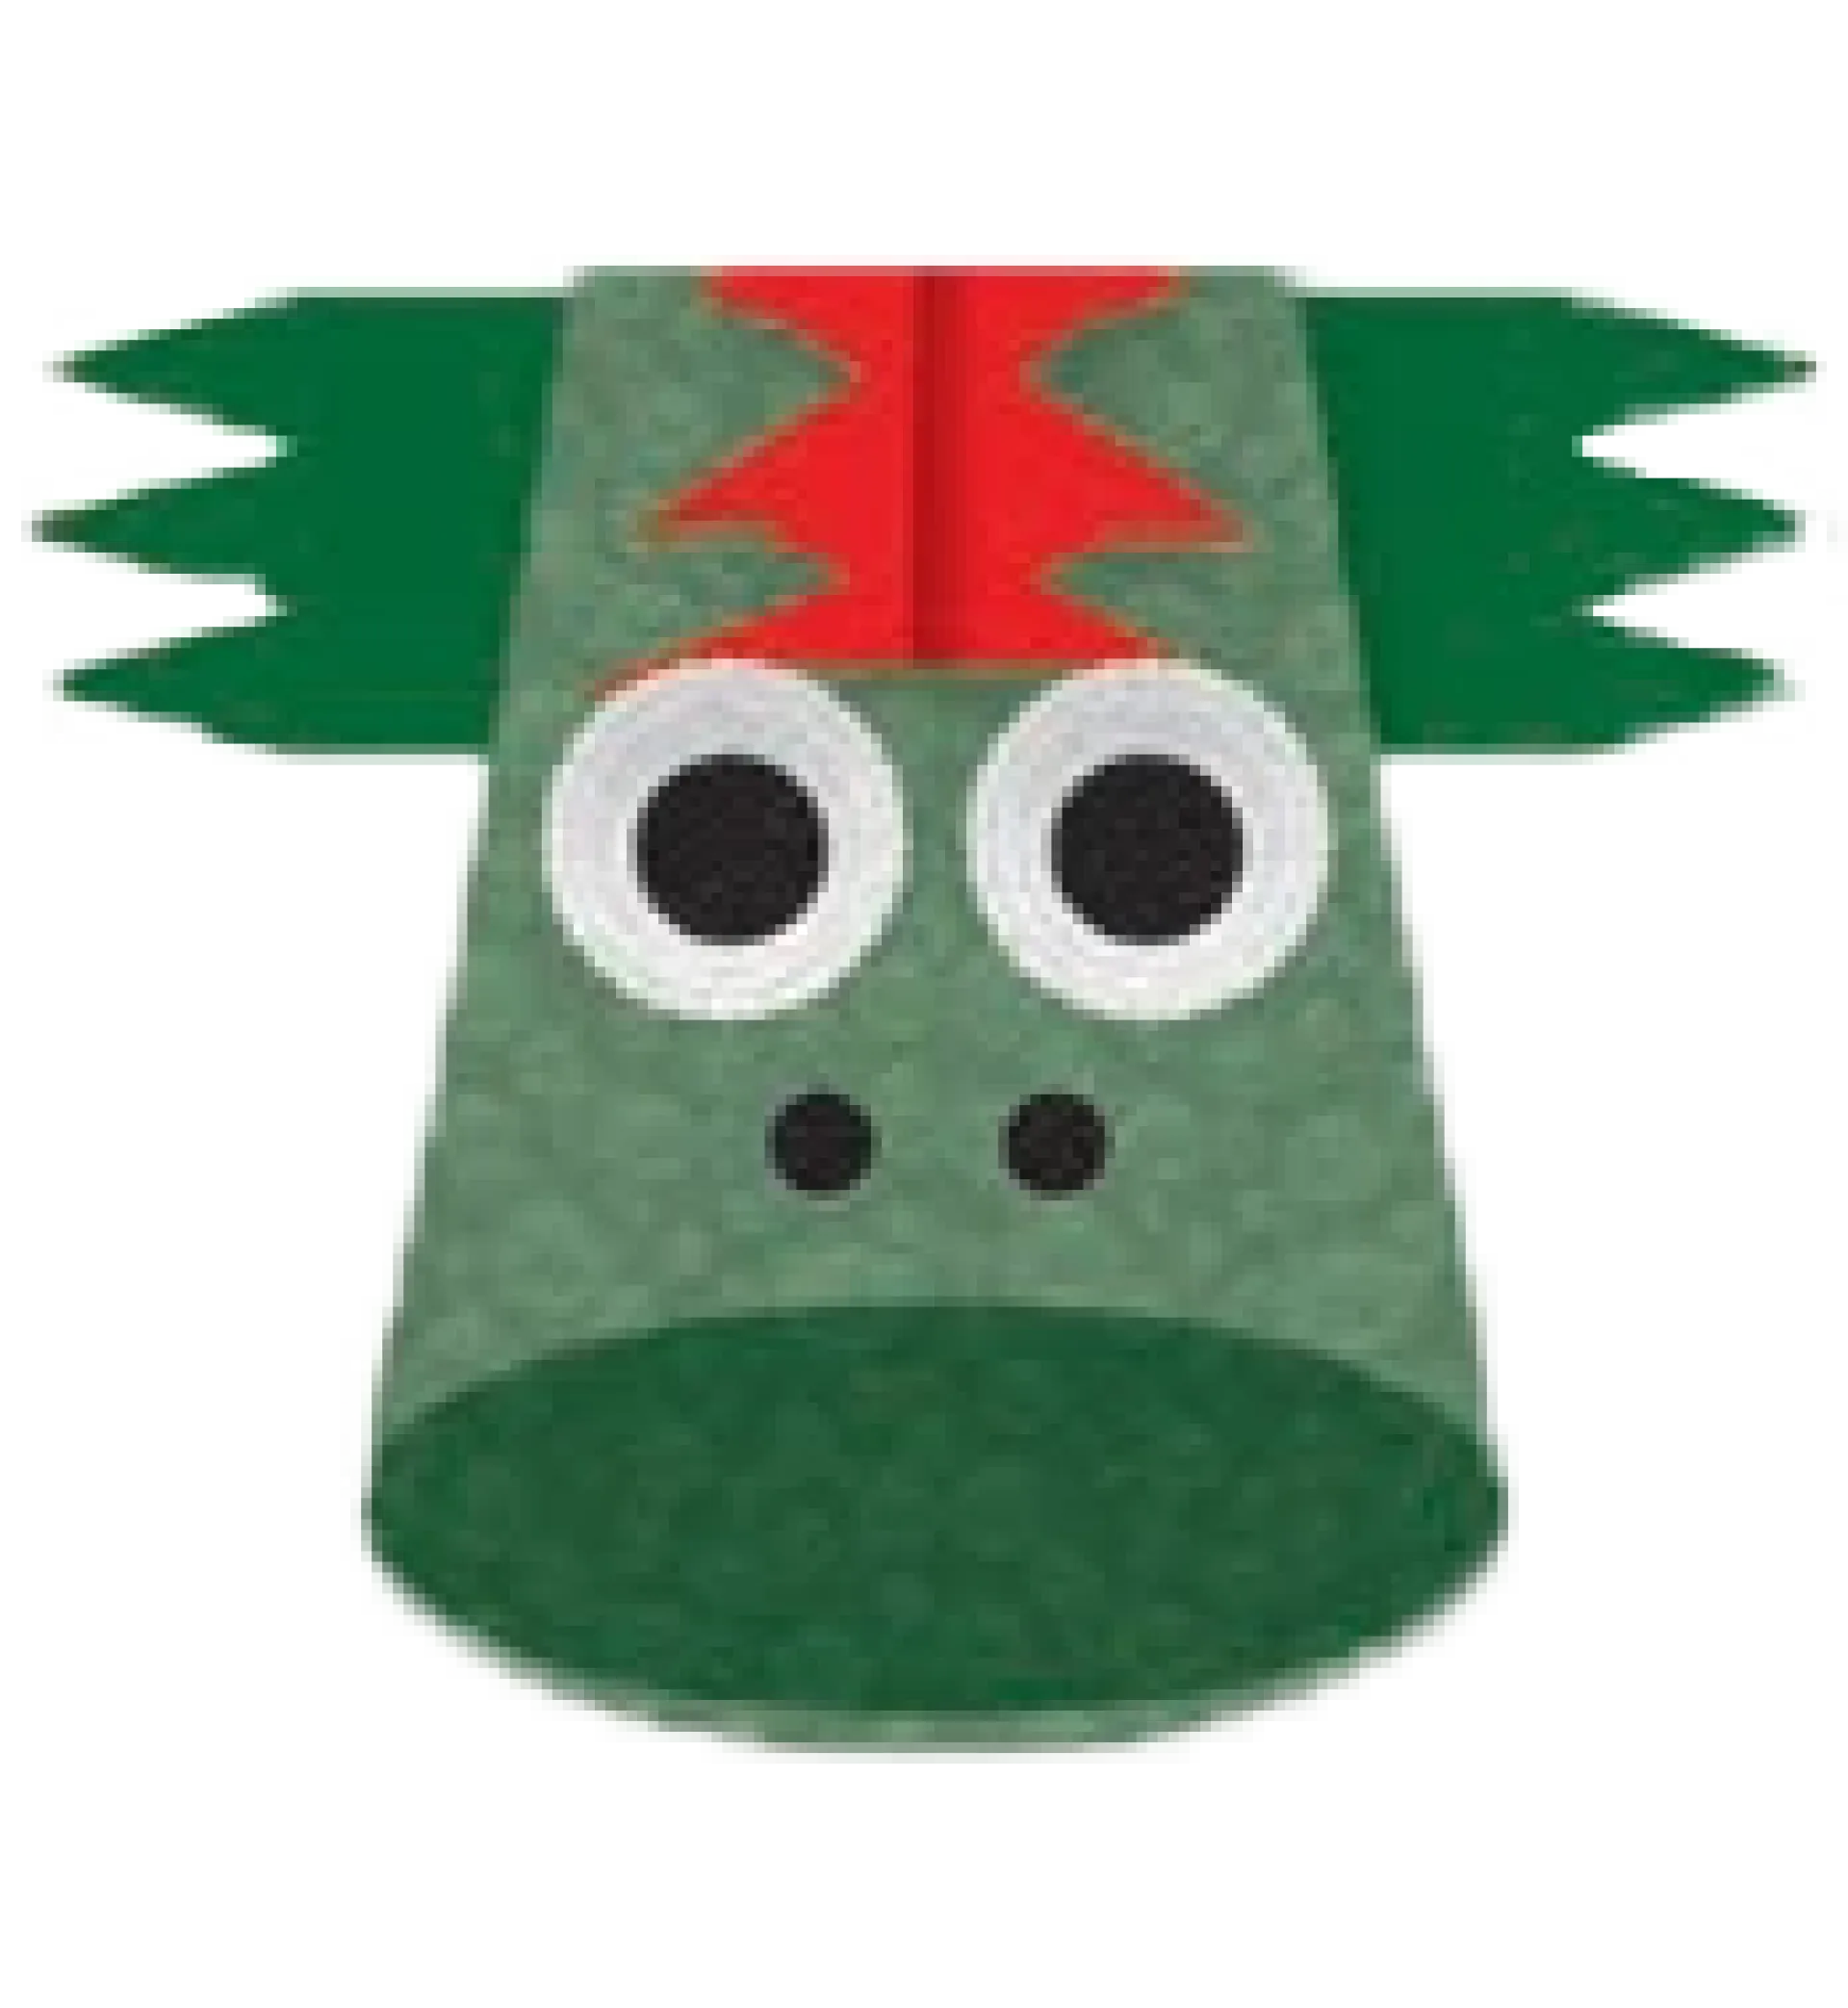
Your bottle tops will be the eyes. Paint a black circle inside each top and glue them on the head. Now add the nostrils with black paint, just in front of the eyes.
You've finished!
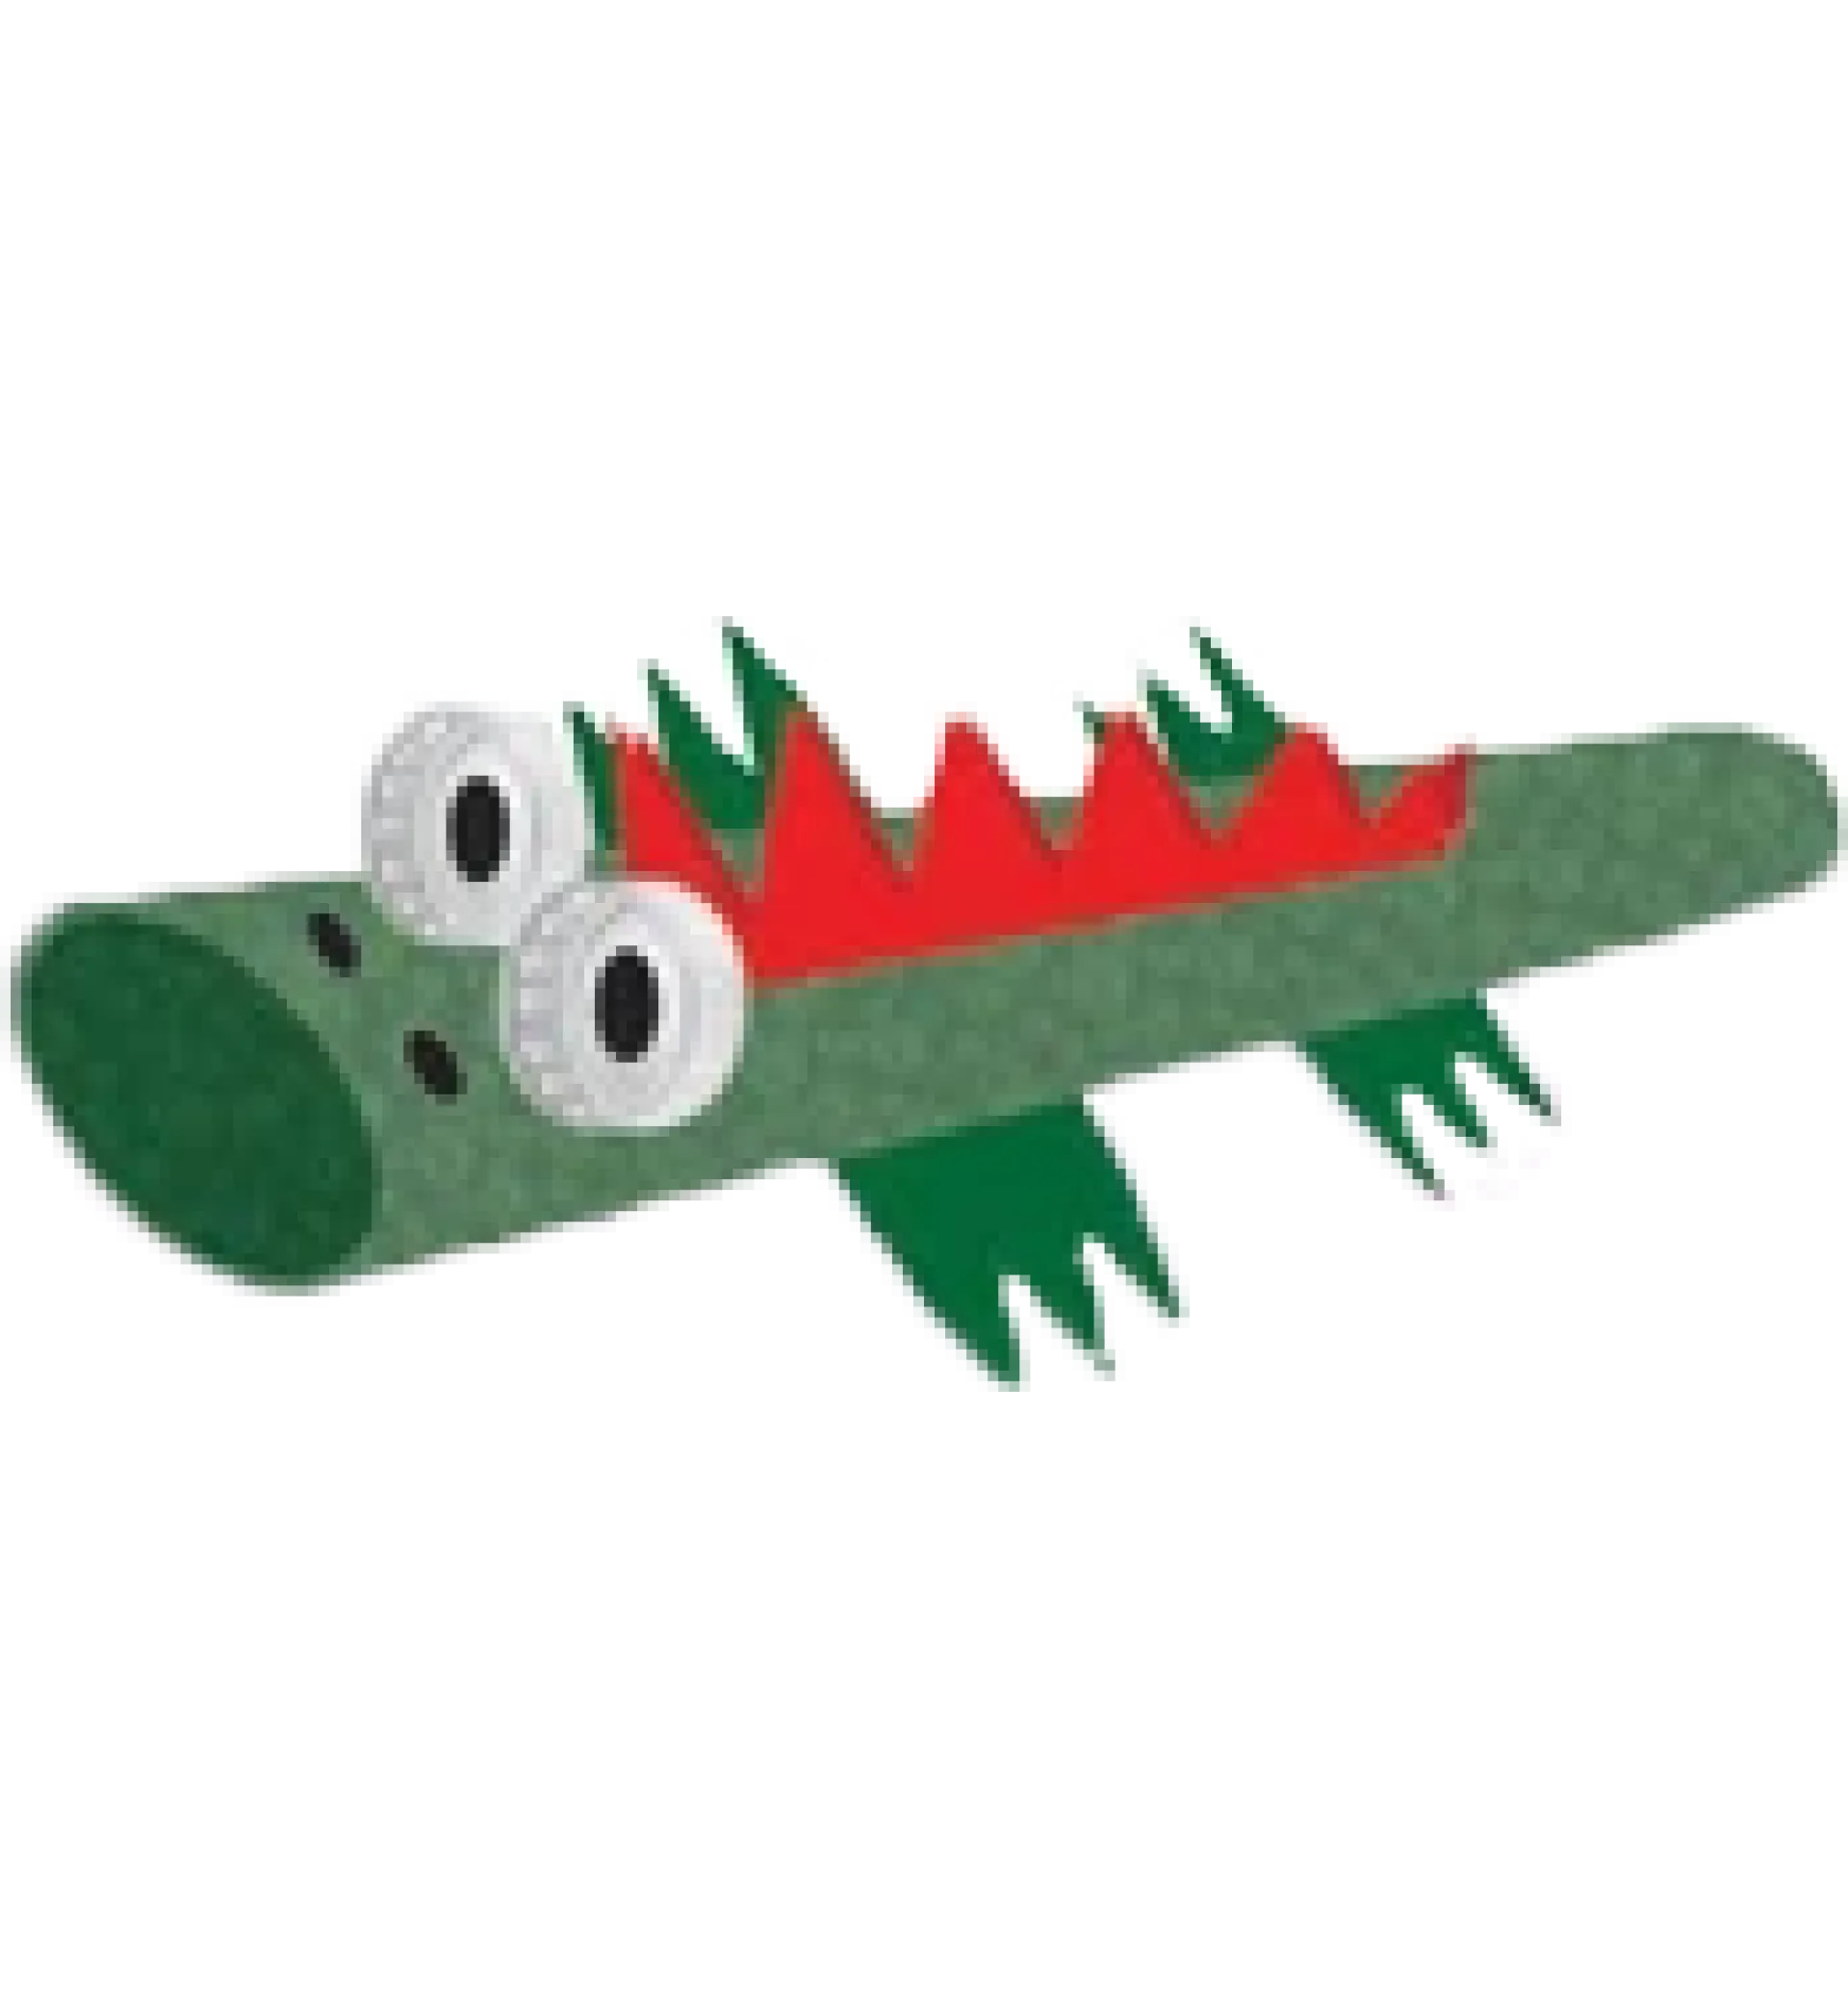
Enjoy having fun with your crazy crocs! You can save or download these steps for later using the button below.
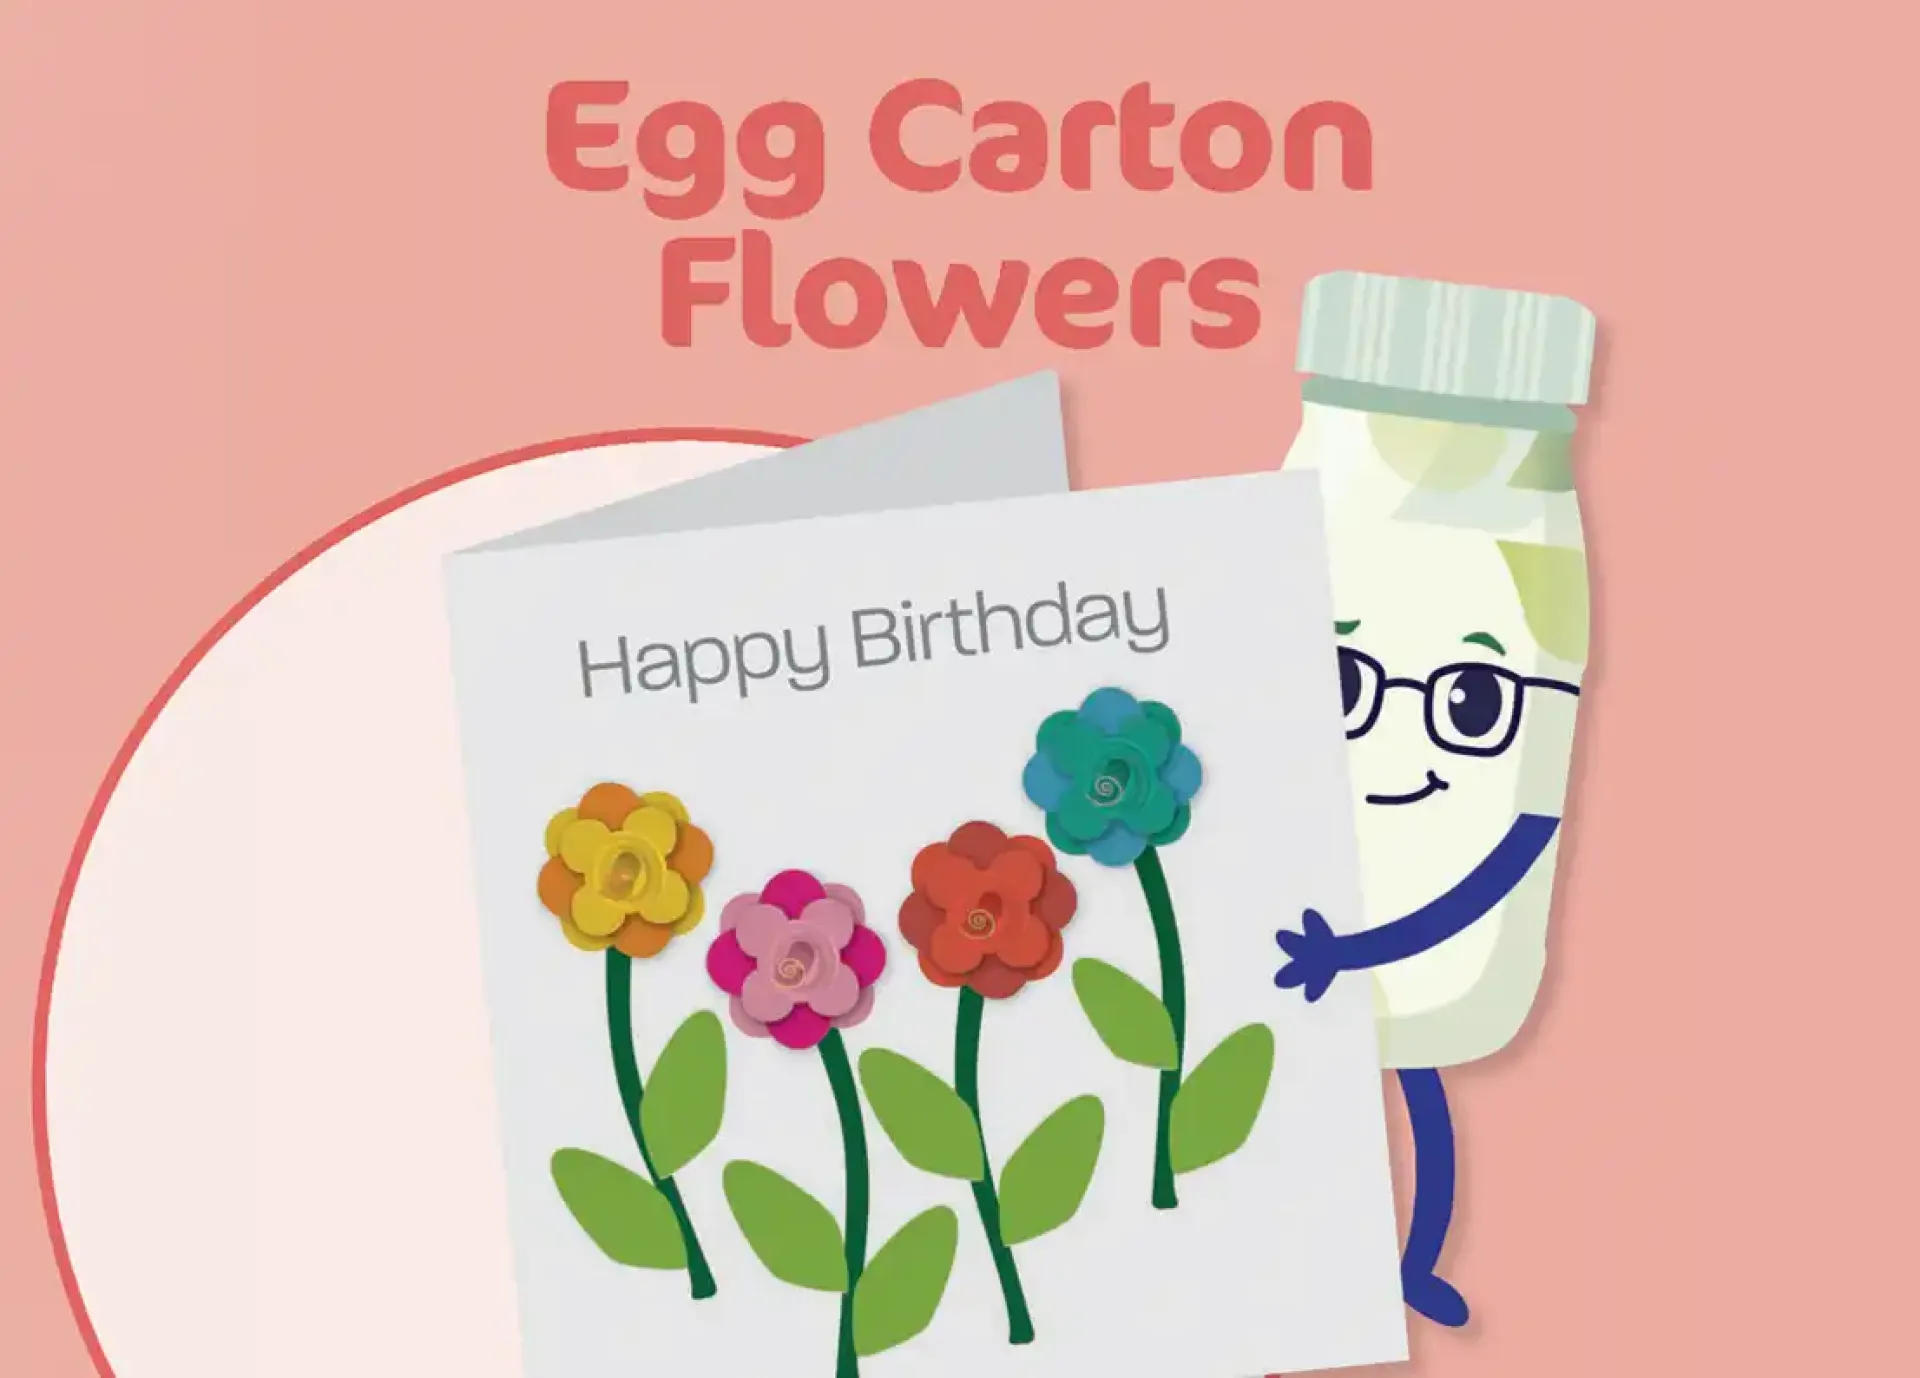
Egg carton flowers
Turn an everyday egg carton into beautiful flowers with a little paint, glue and imagination. Create your own flower designs and arrange them into a lovely picture or a handmade birthday card!
You will need:
- Cardboard egg cartons or an alternative Paint
- Glue
- Scissors
- Paint brush
- Cardstock
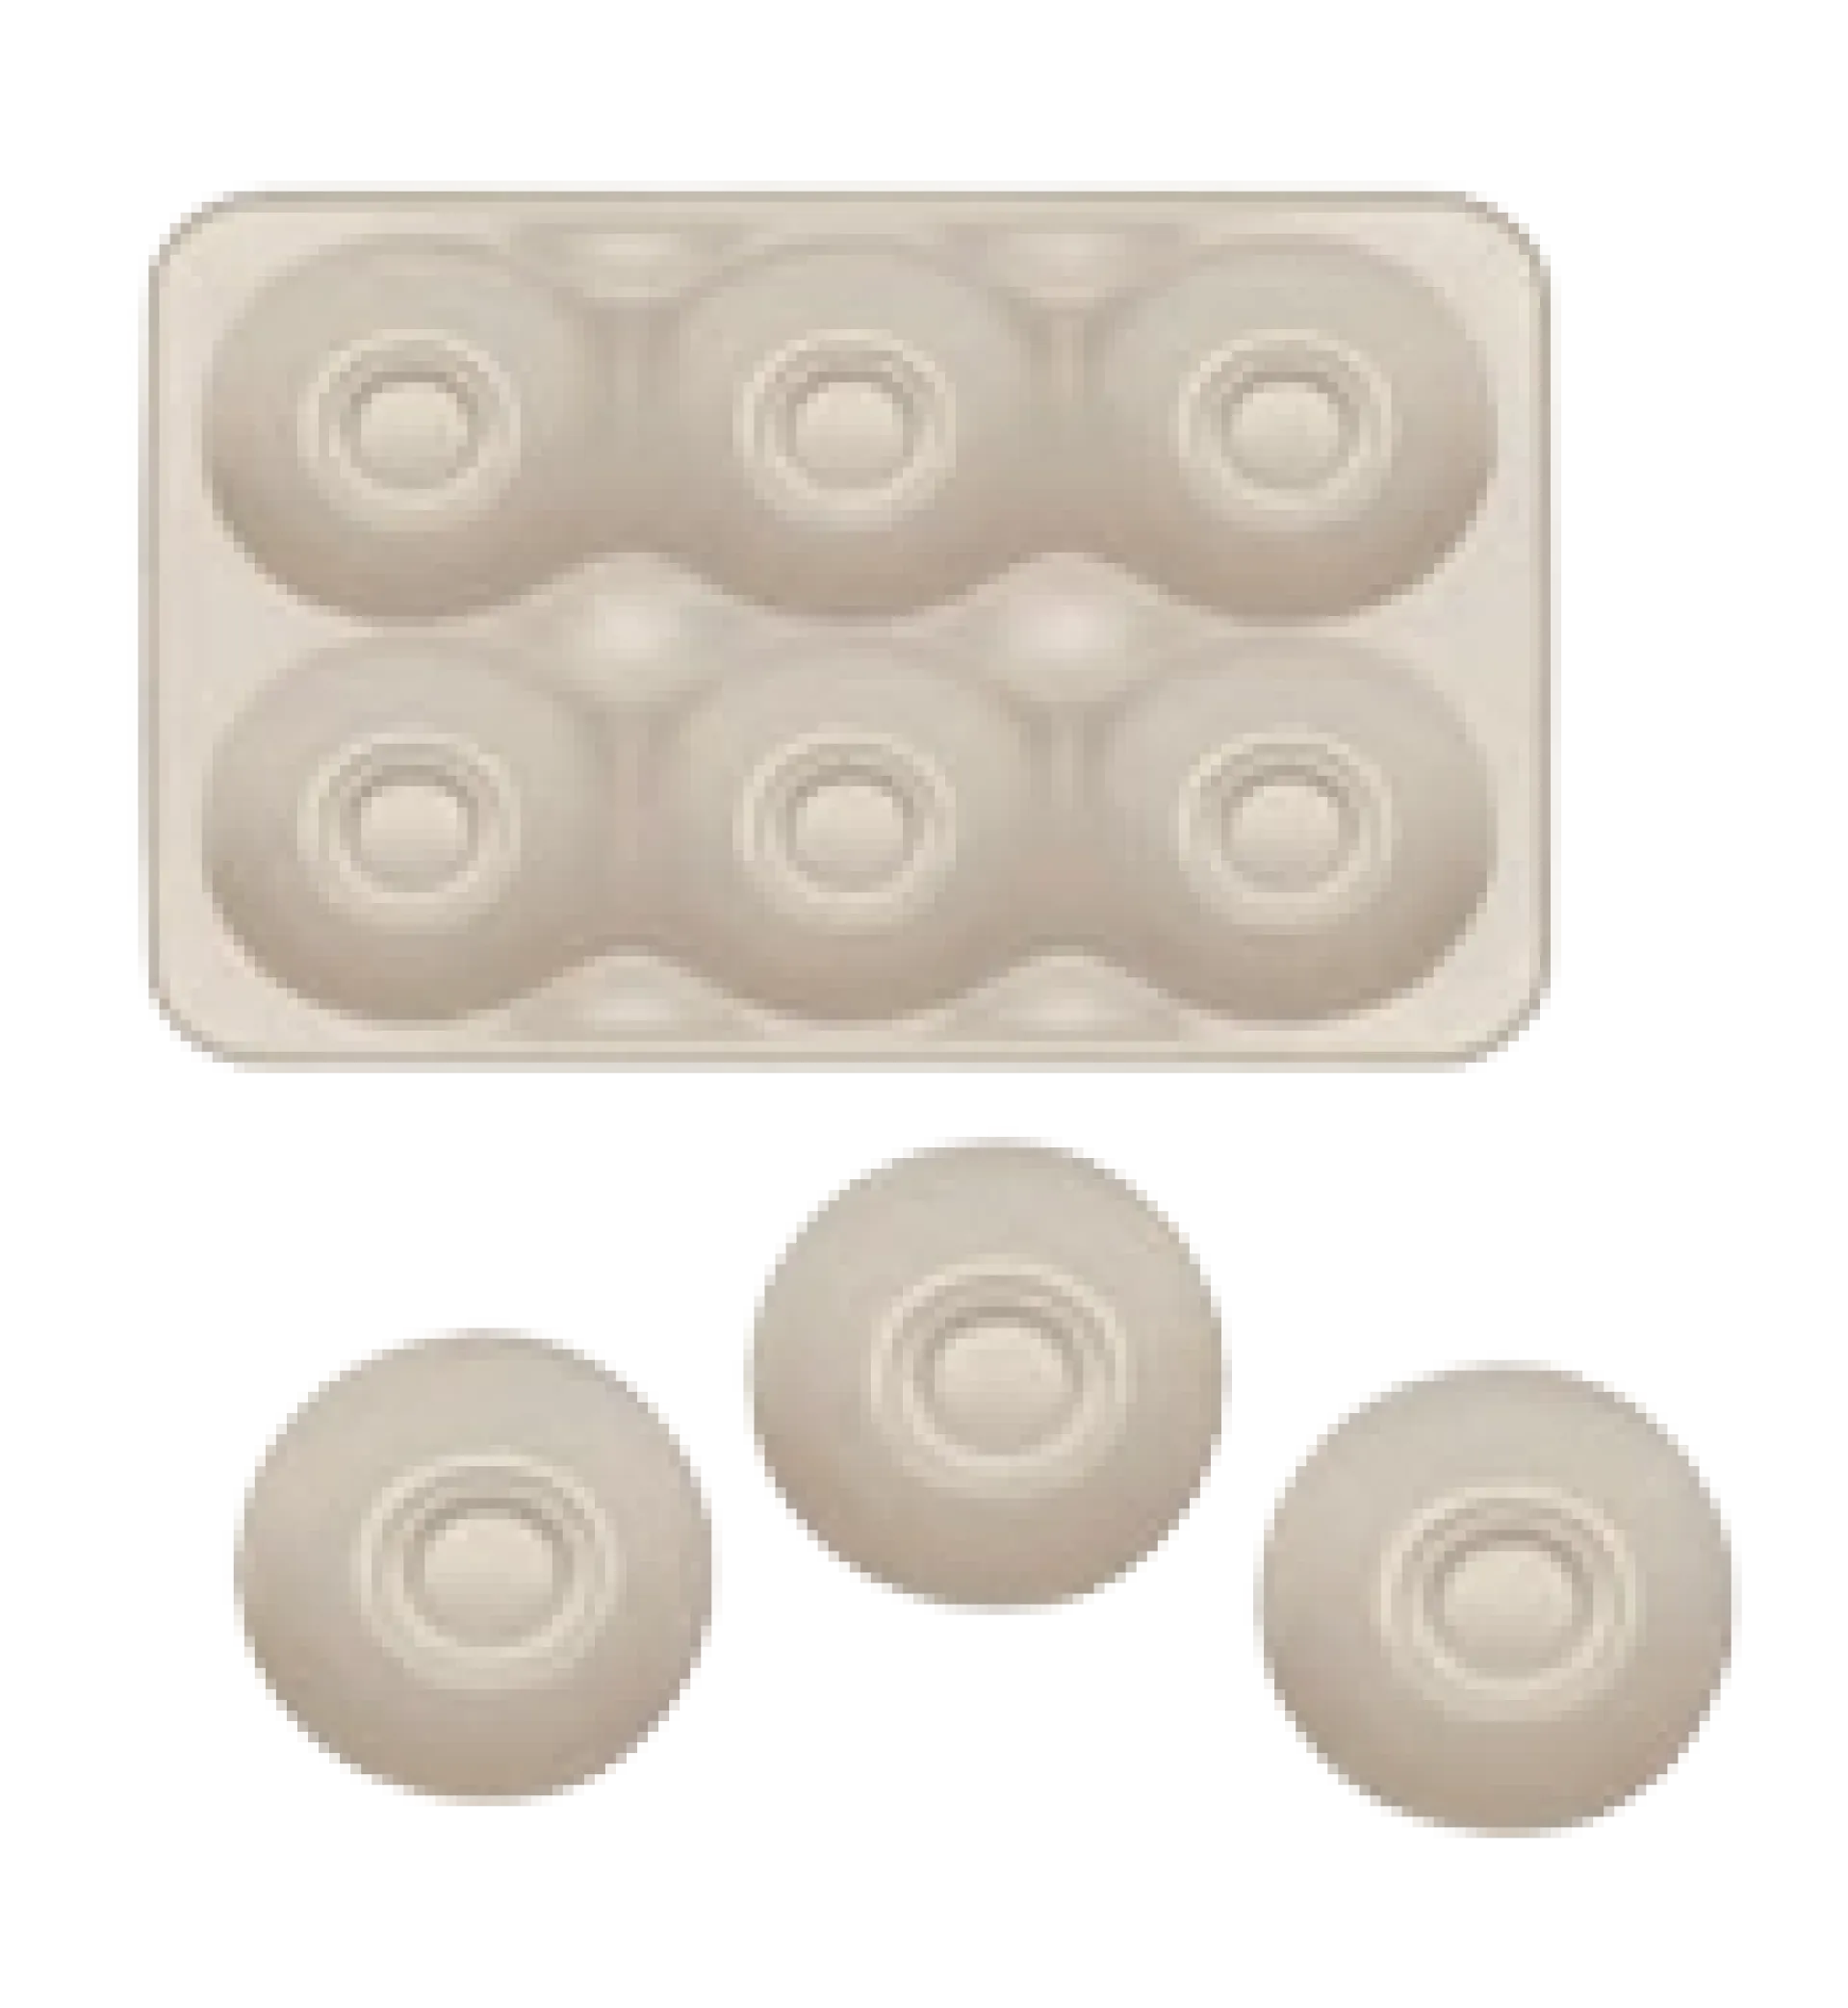
Step 1
You will need 3 egg sections to make each flower. First cut out the cup shapes.
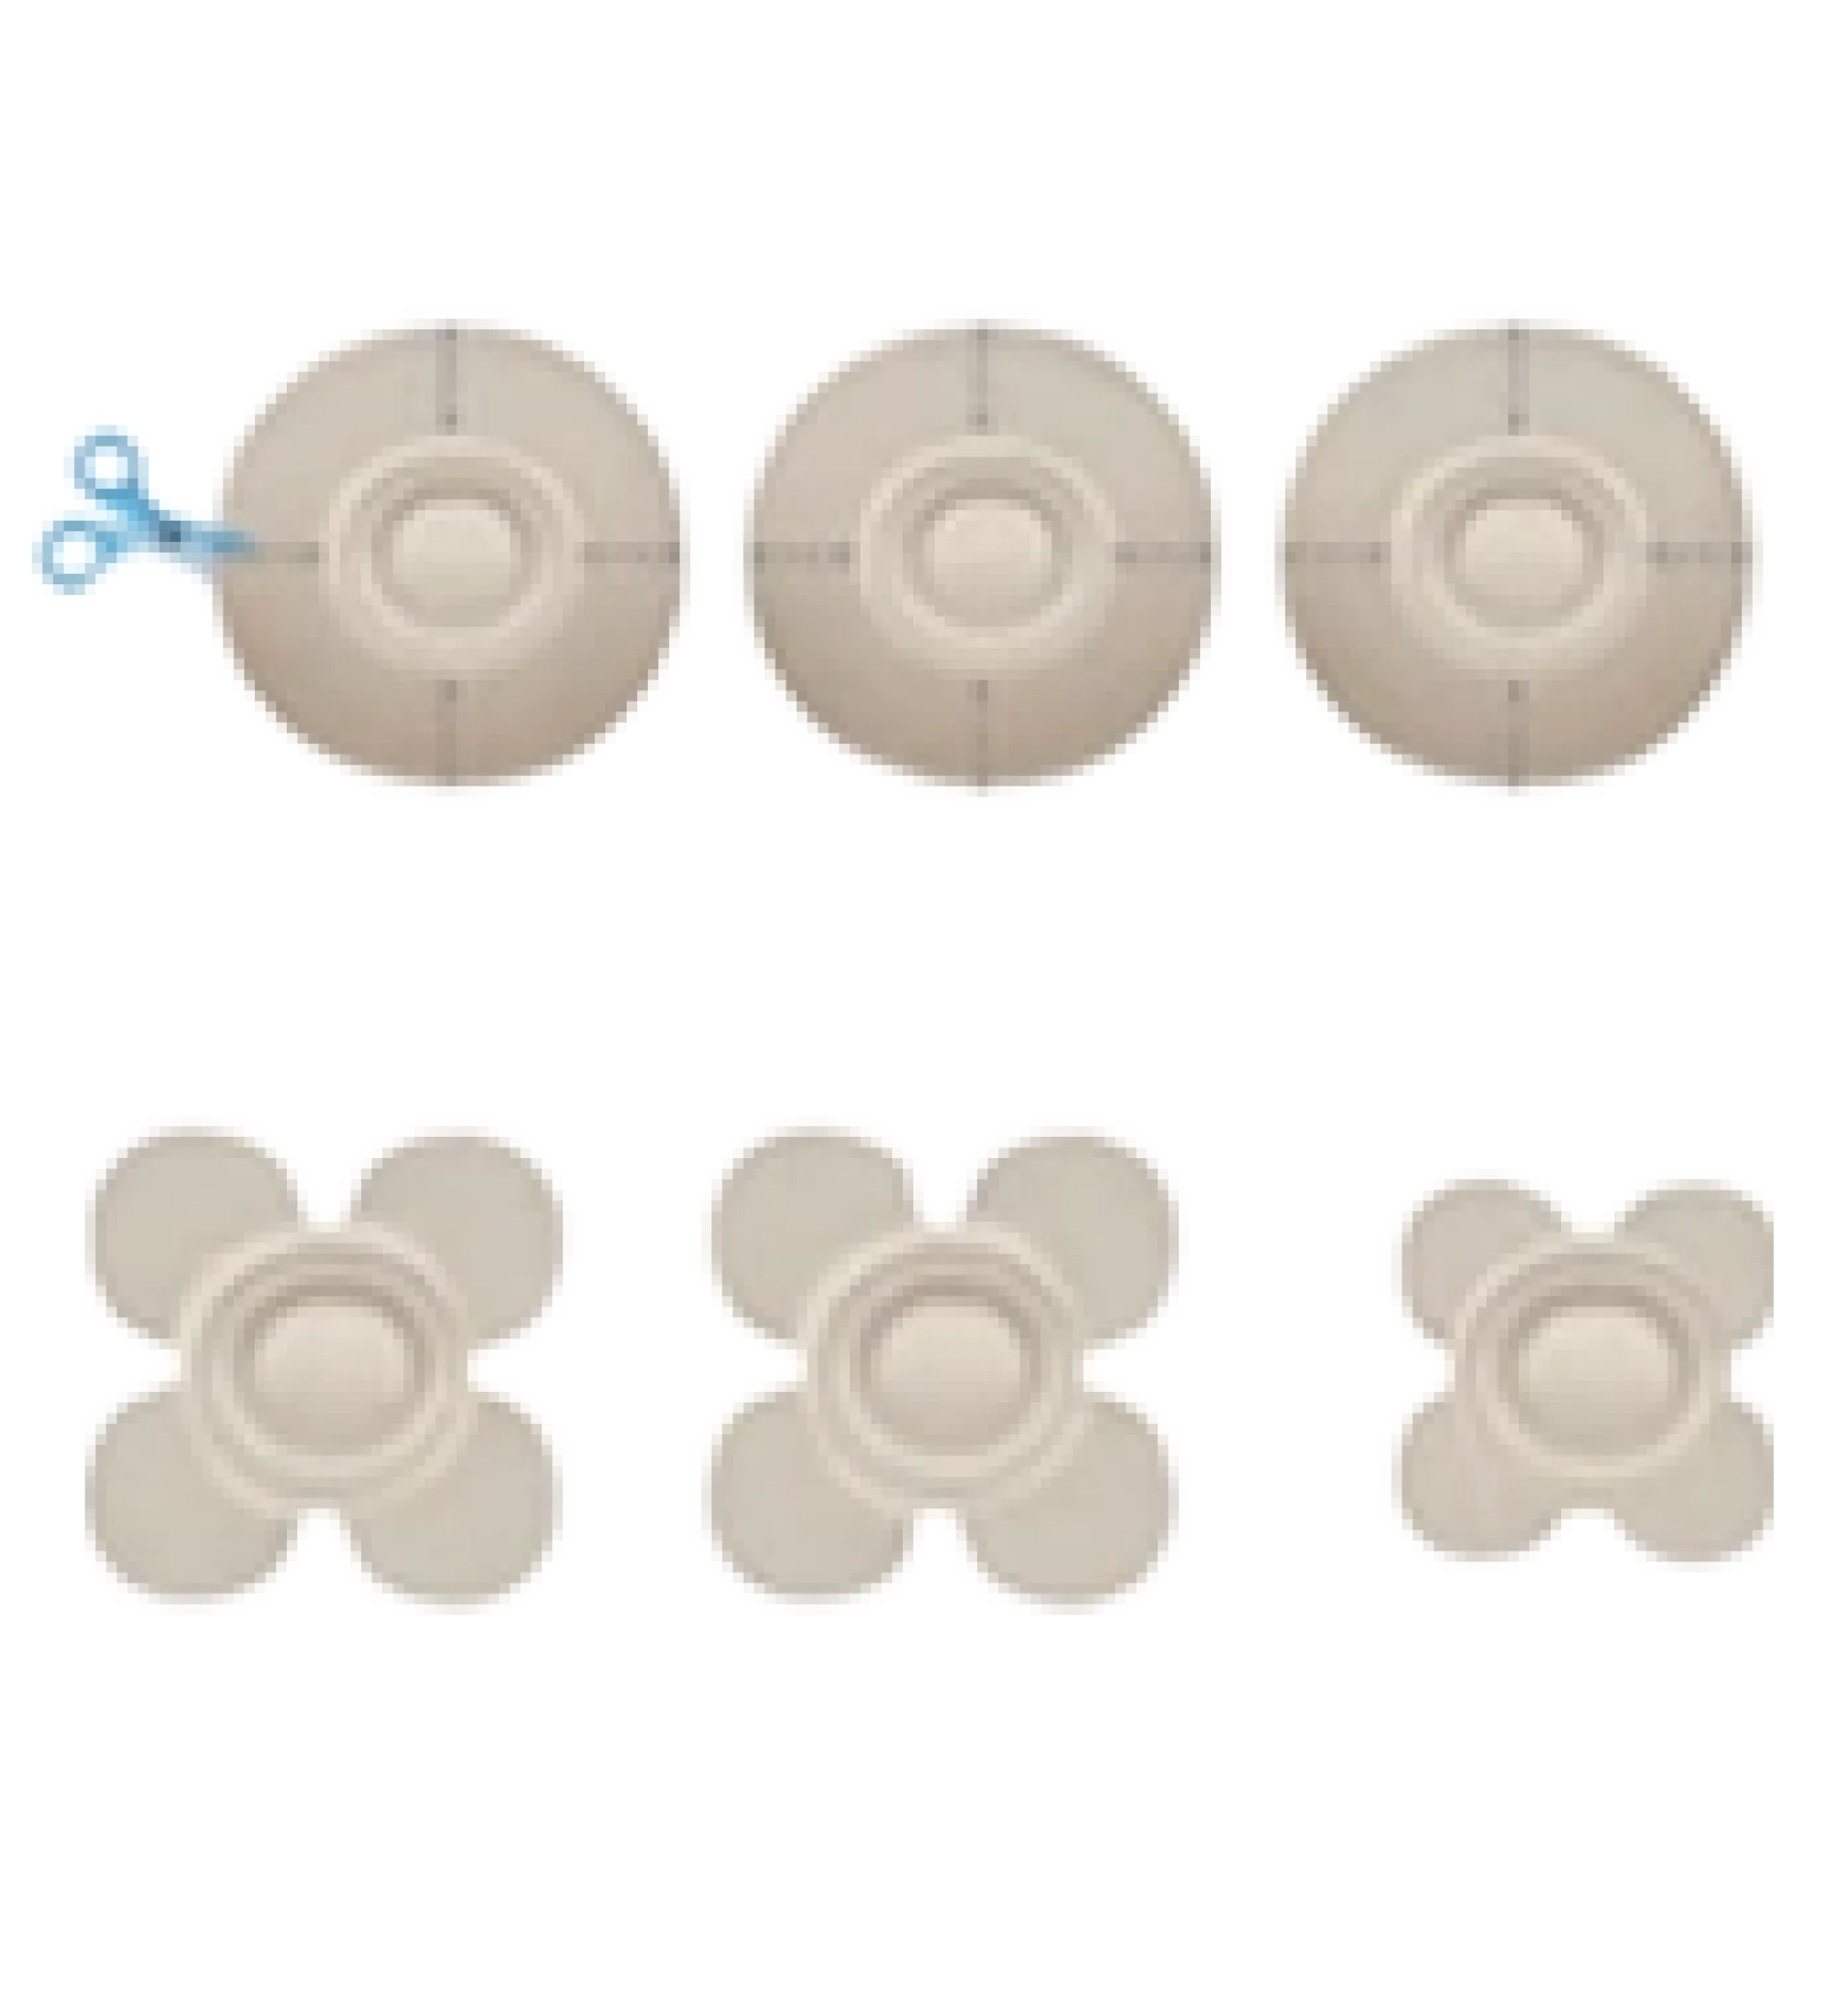
Step 2
Make 4 cuts to each cup, and round off the corners. This will give your the basic flower petal shape. Keep two the same size and then cut the third one slightly smaller - this will be the centre set of petals.
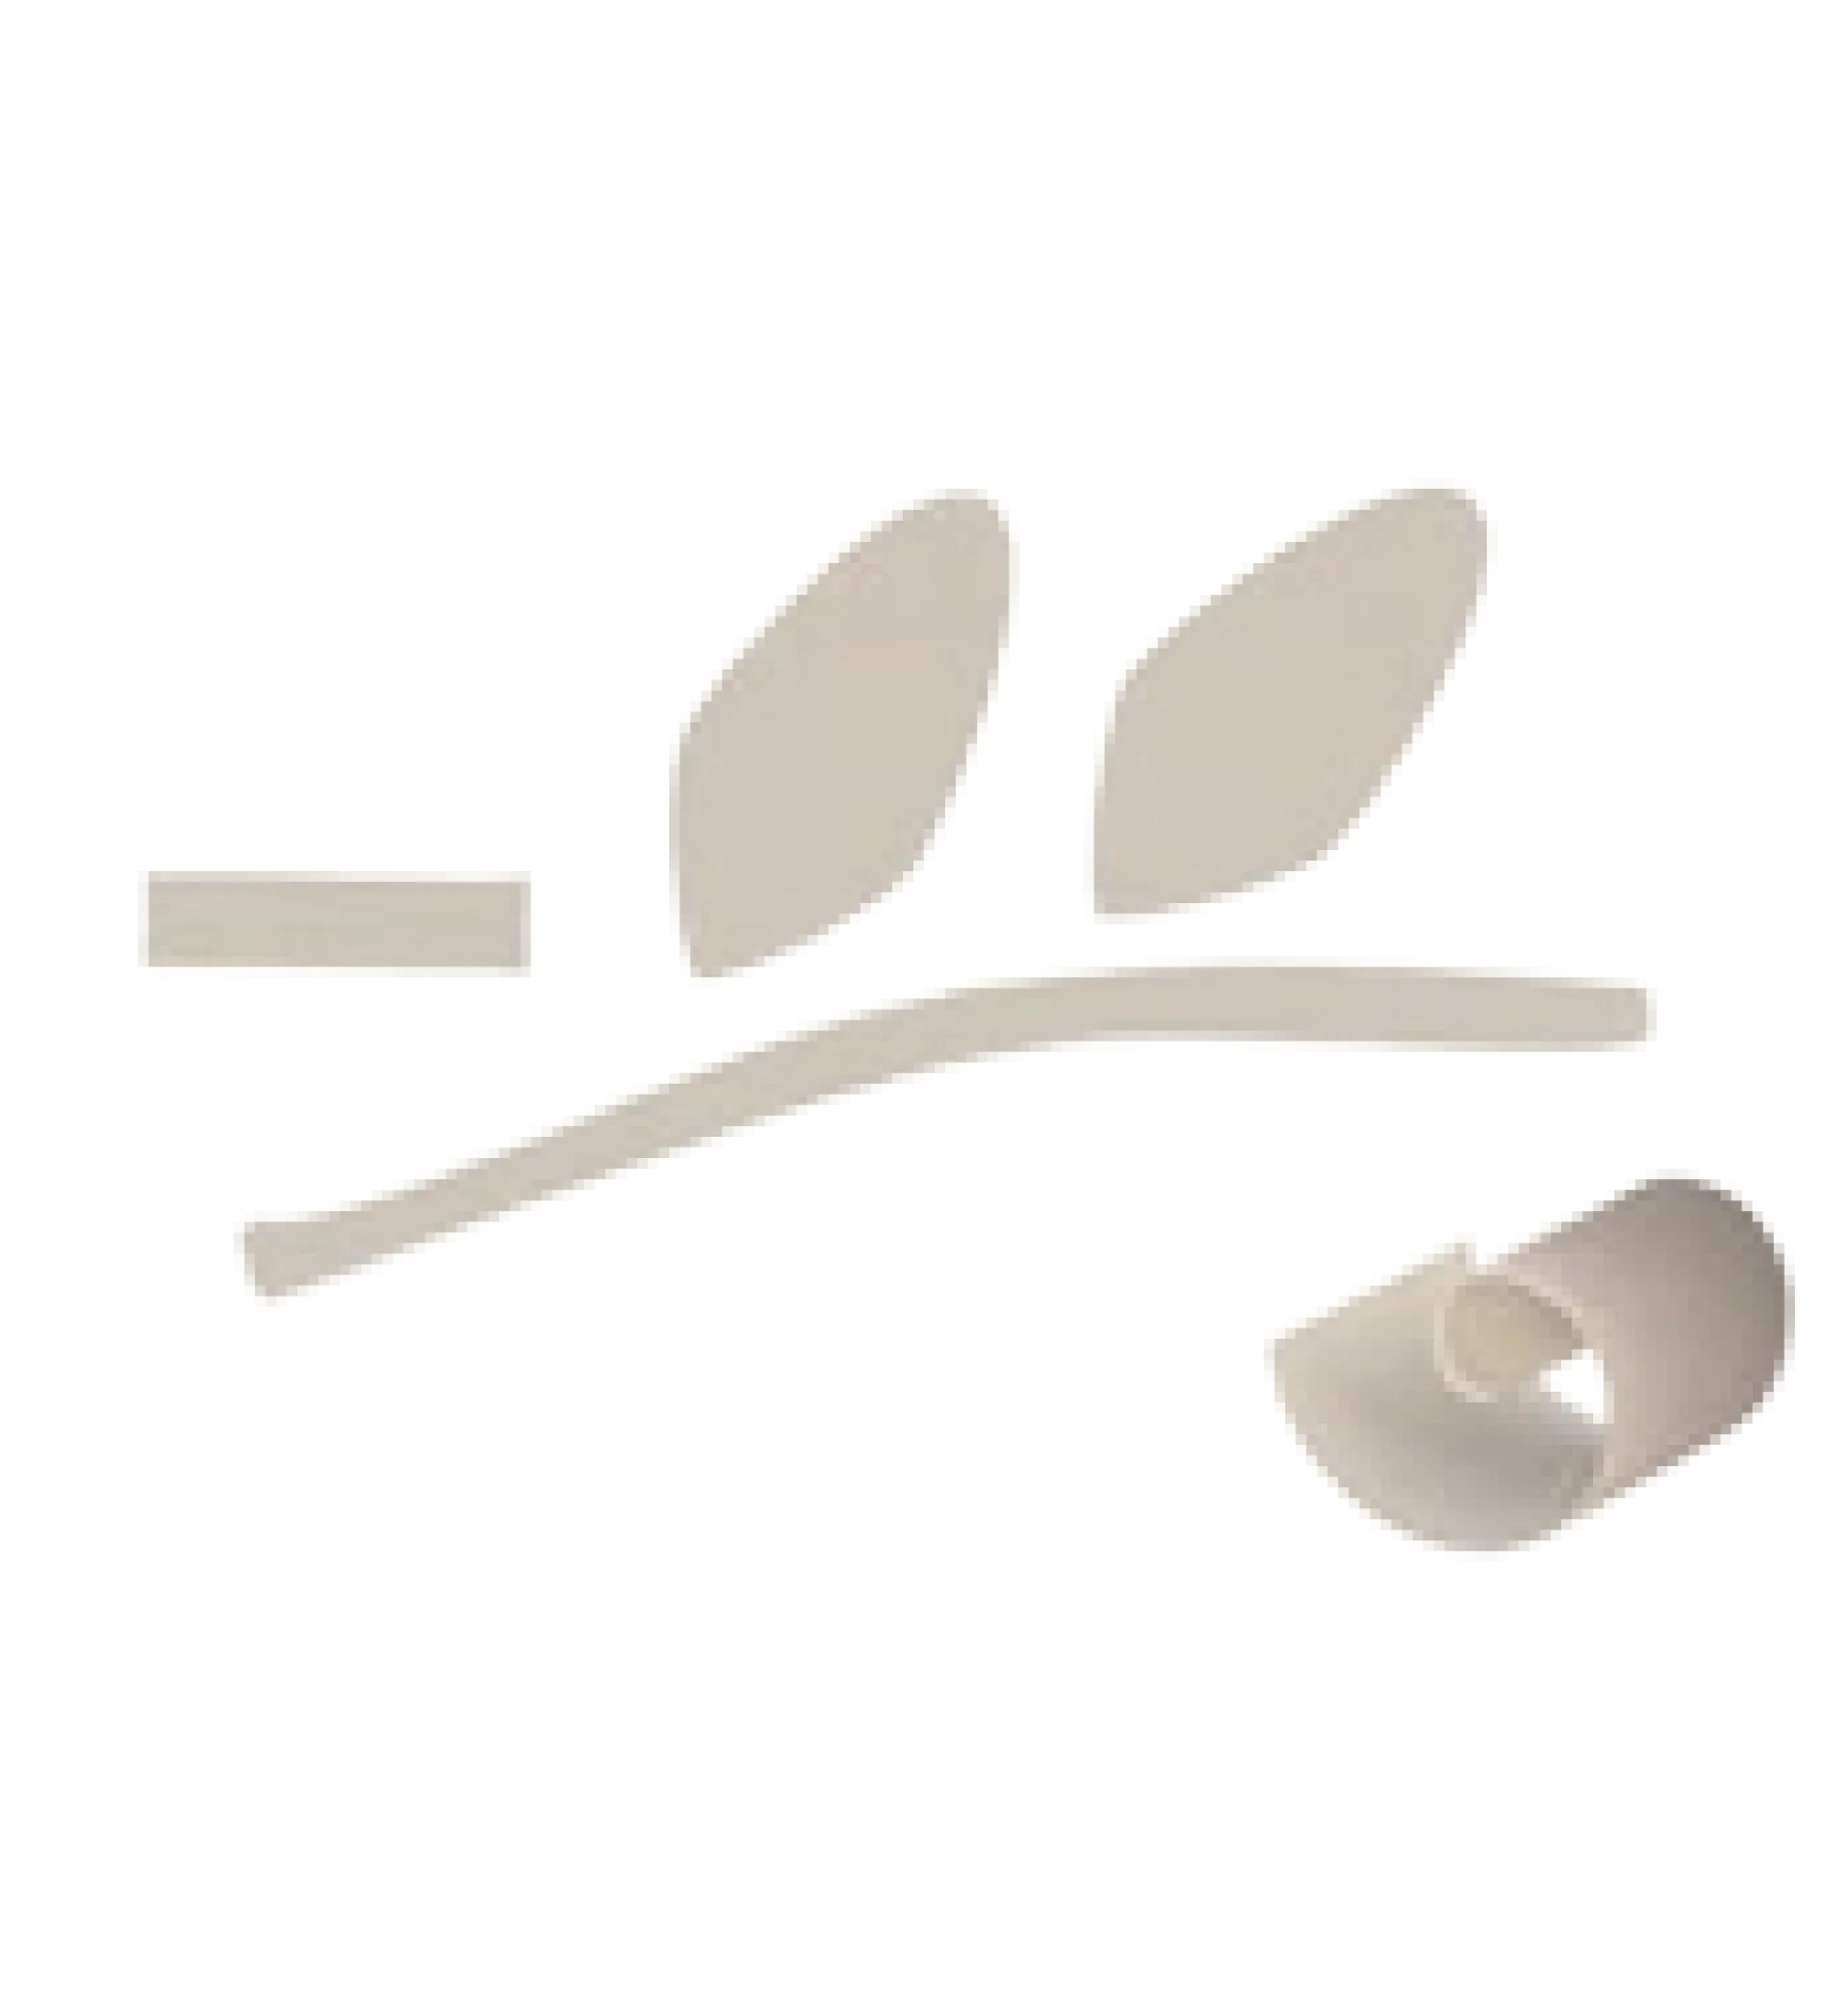
Step 3
Use the top of the egg box to create leaf shapes, a short strip and a stem. Roll the short stem into a curl. This will be at the very centre of your flower.
Step 4
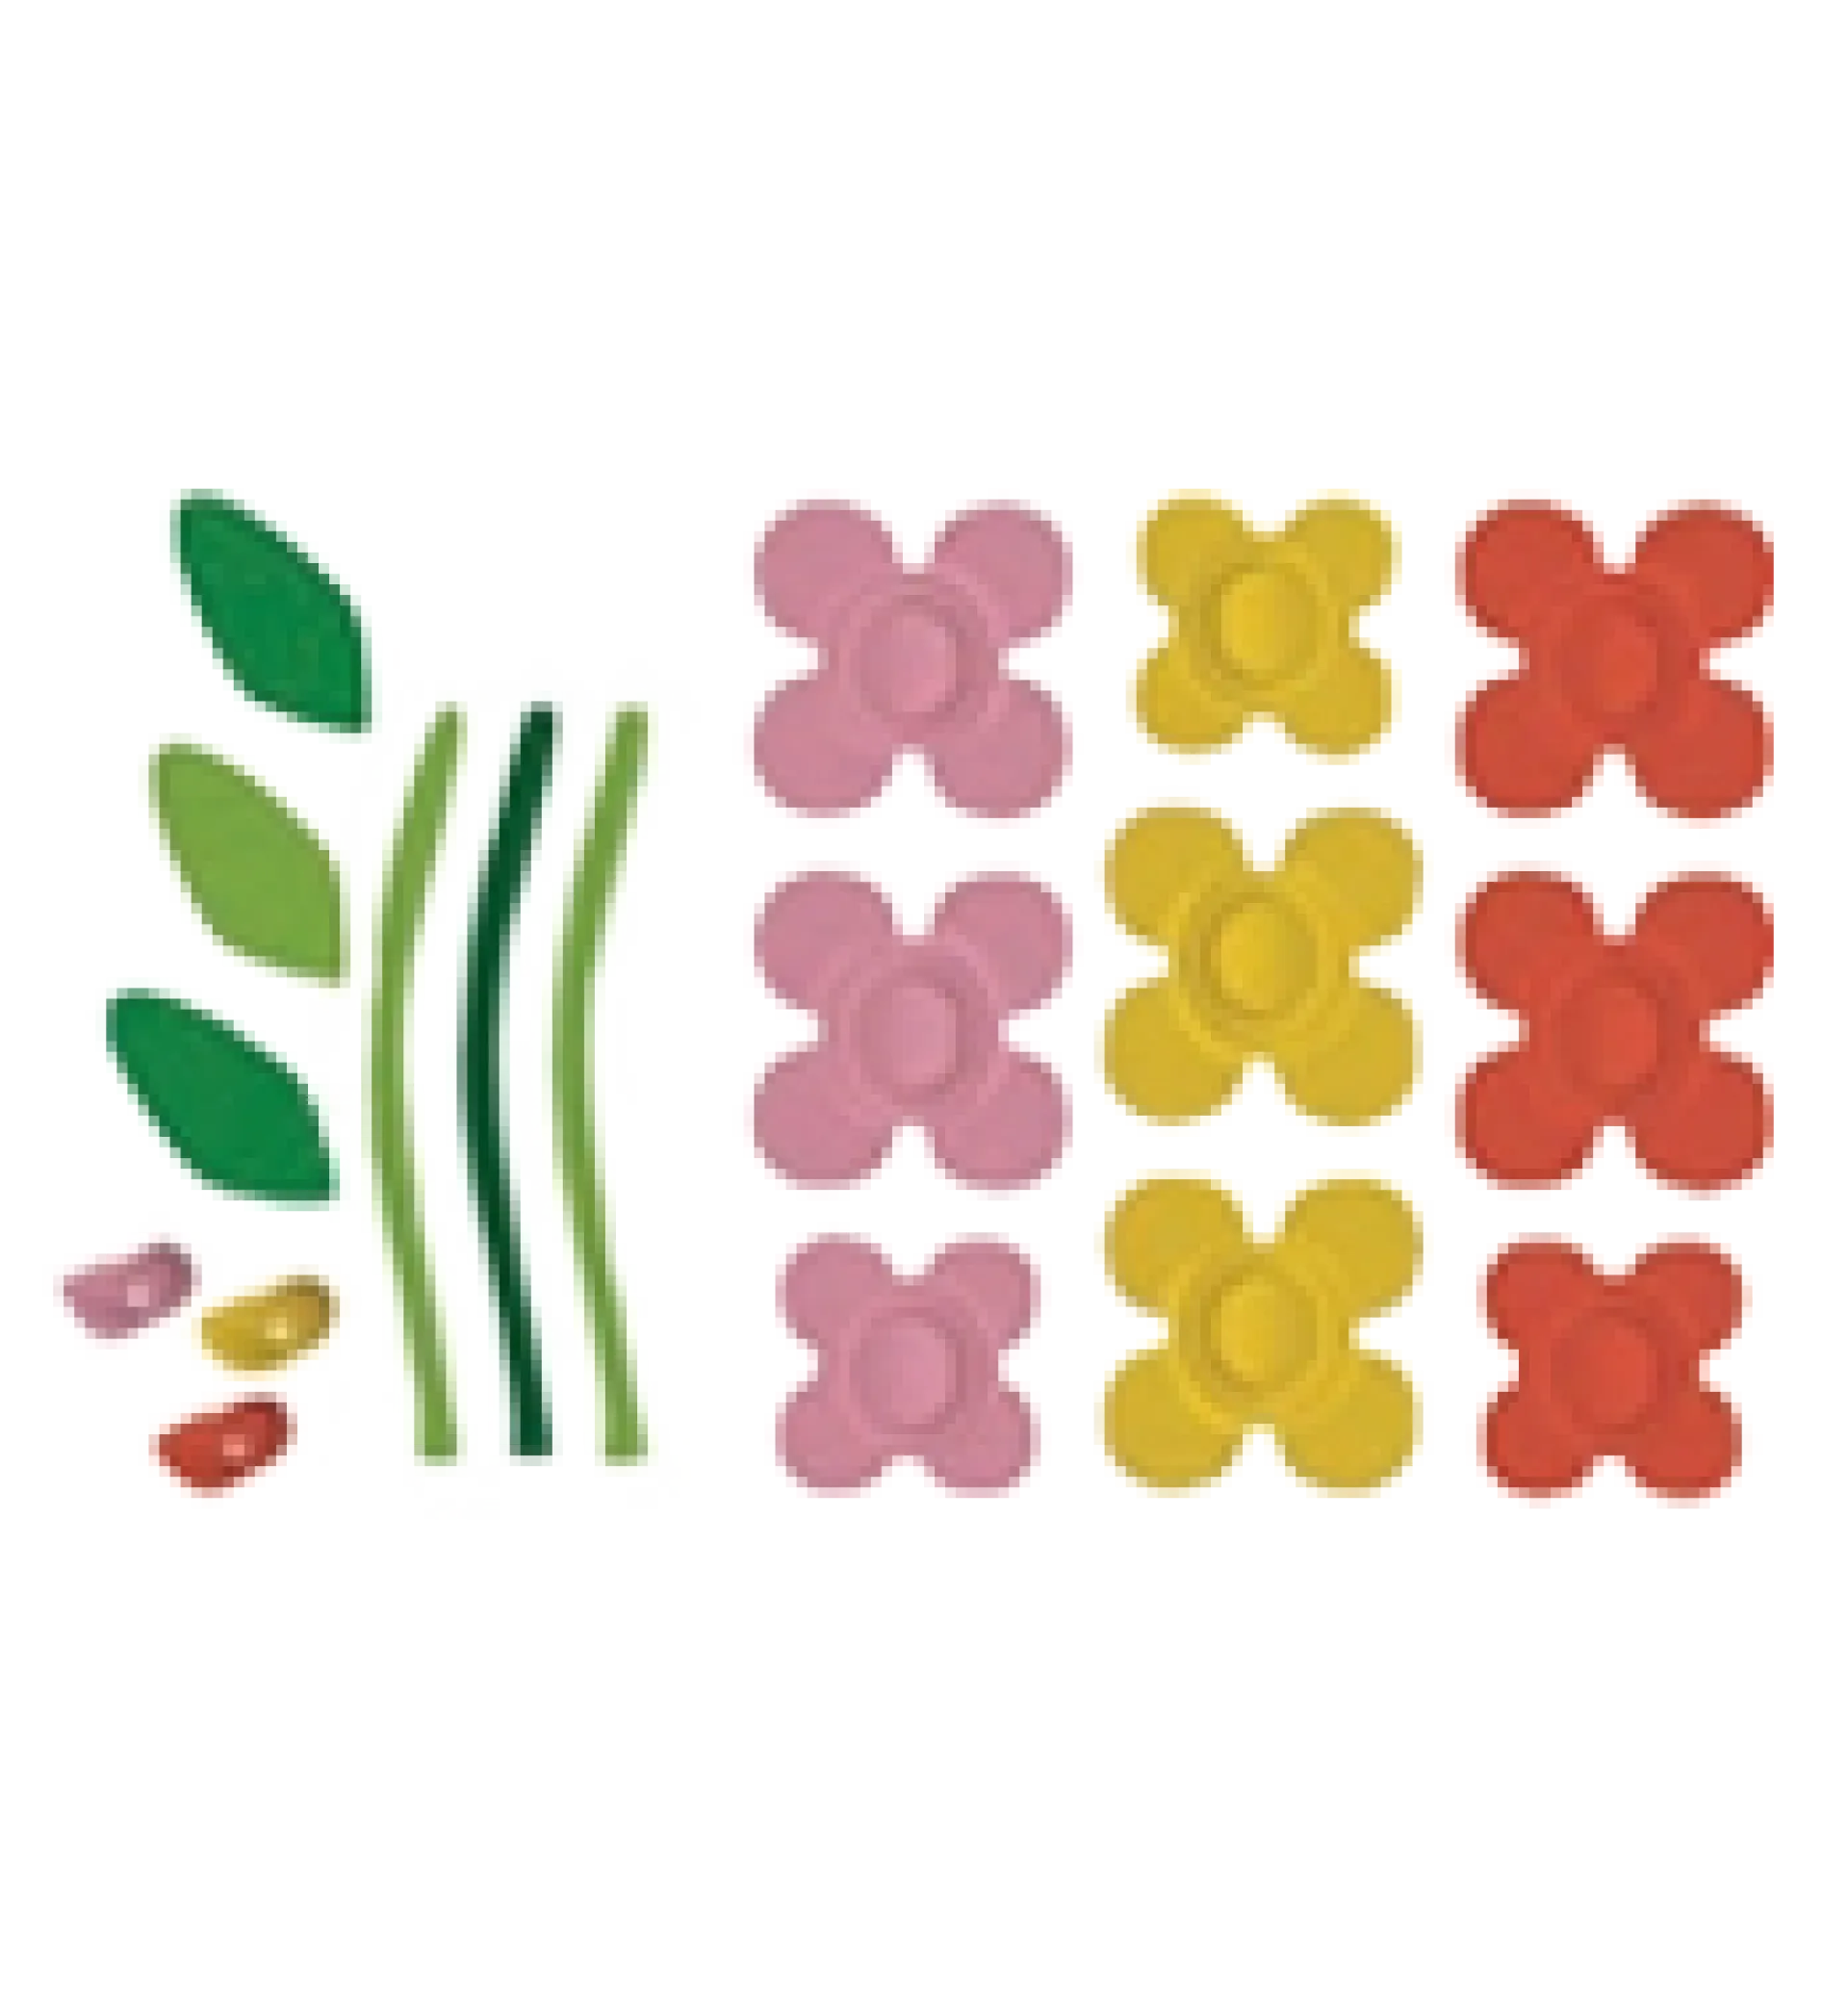
Paint all your pieces. Allow them to dry fully before assembling your flowers.
Step 5
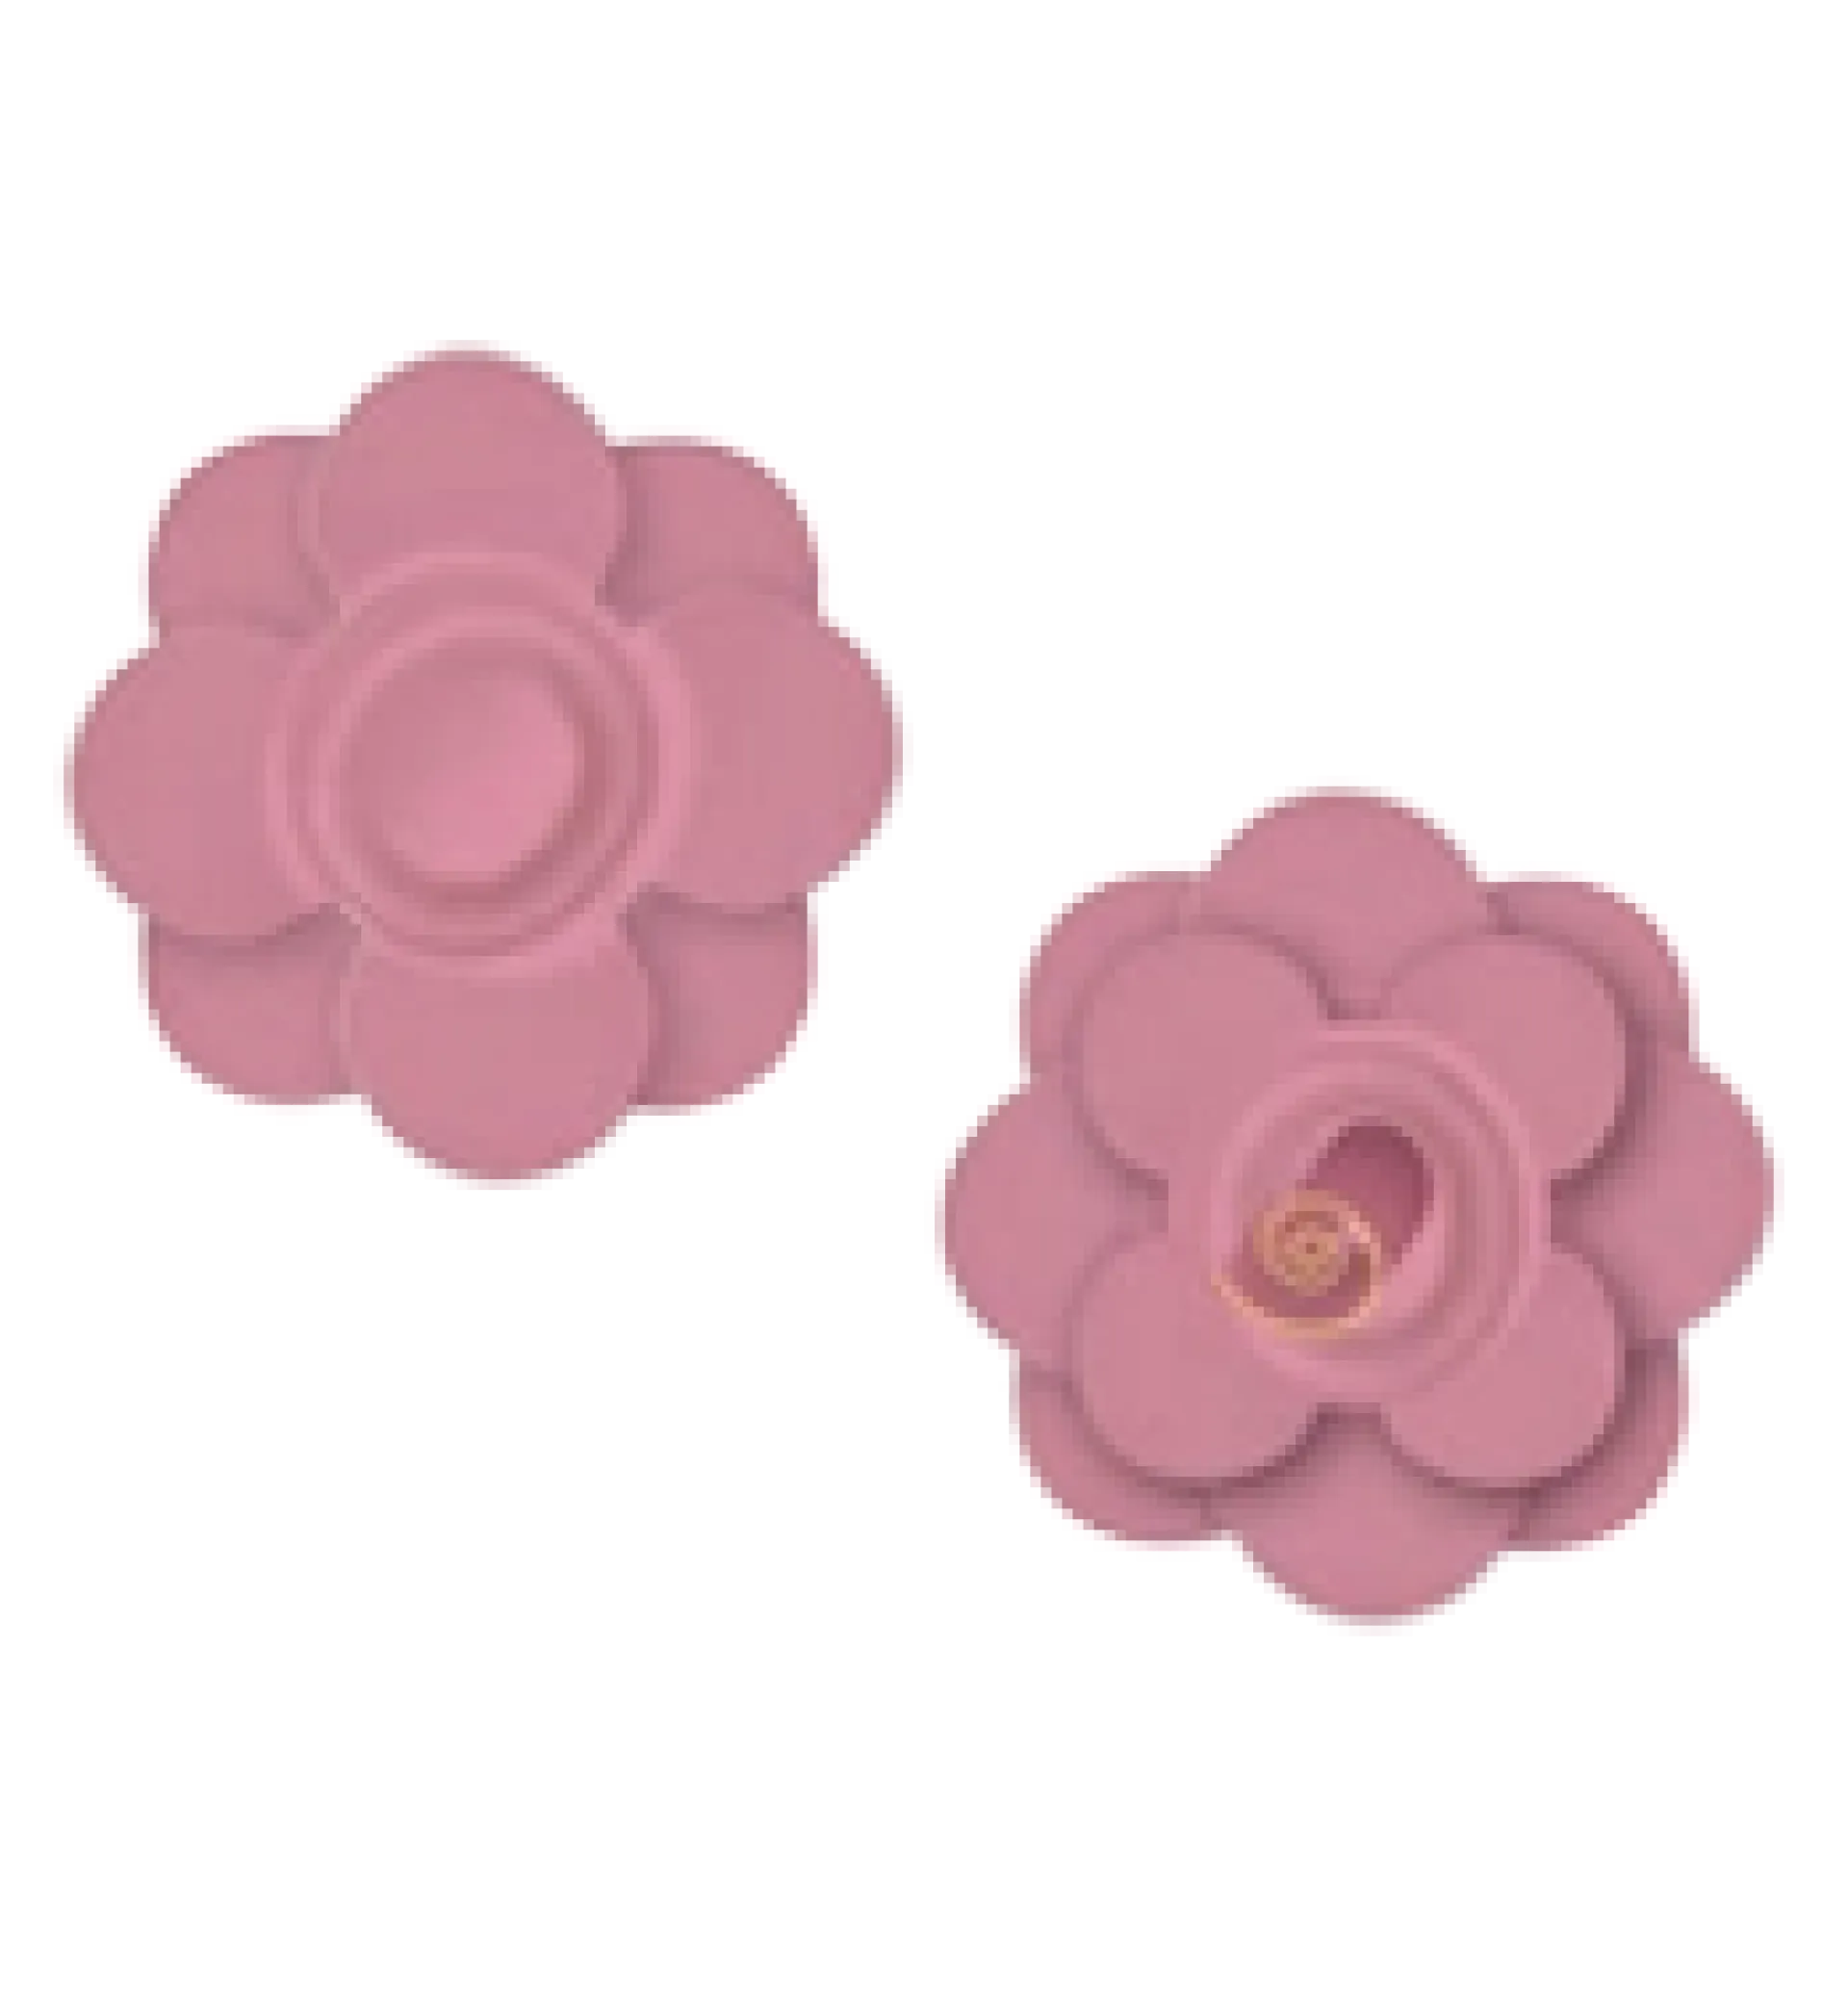
Glue the two larger cup pieces together at angle to create a star shape of petals. Then glue the smaller one in the middle. Add the curl to the centre of the flower.
Step 6
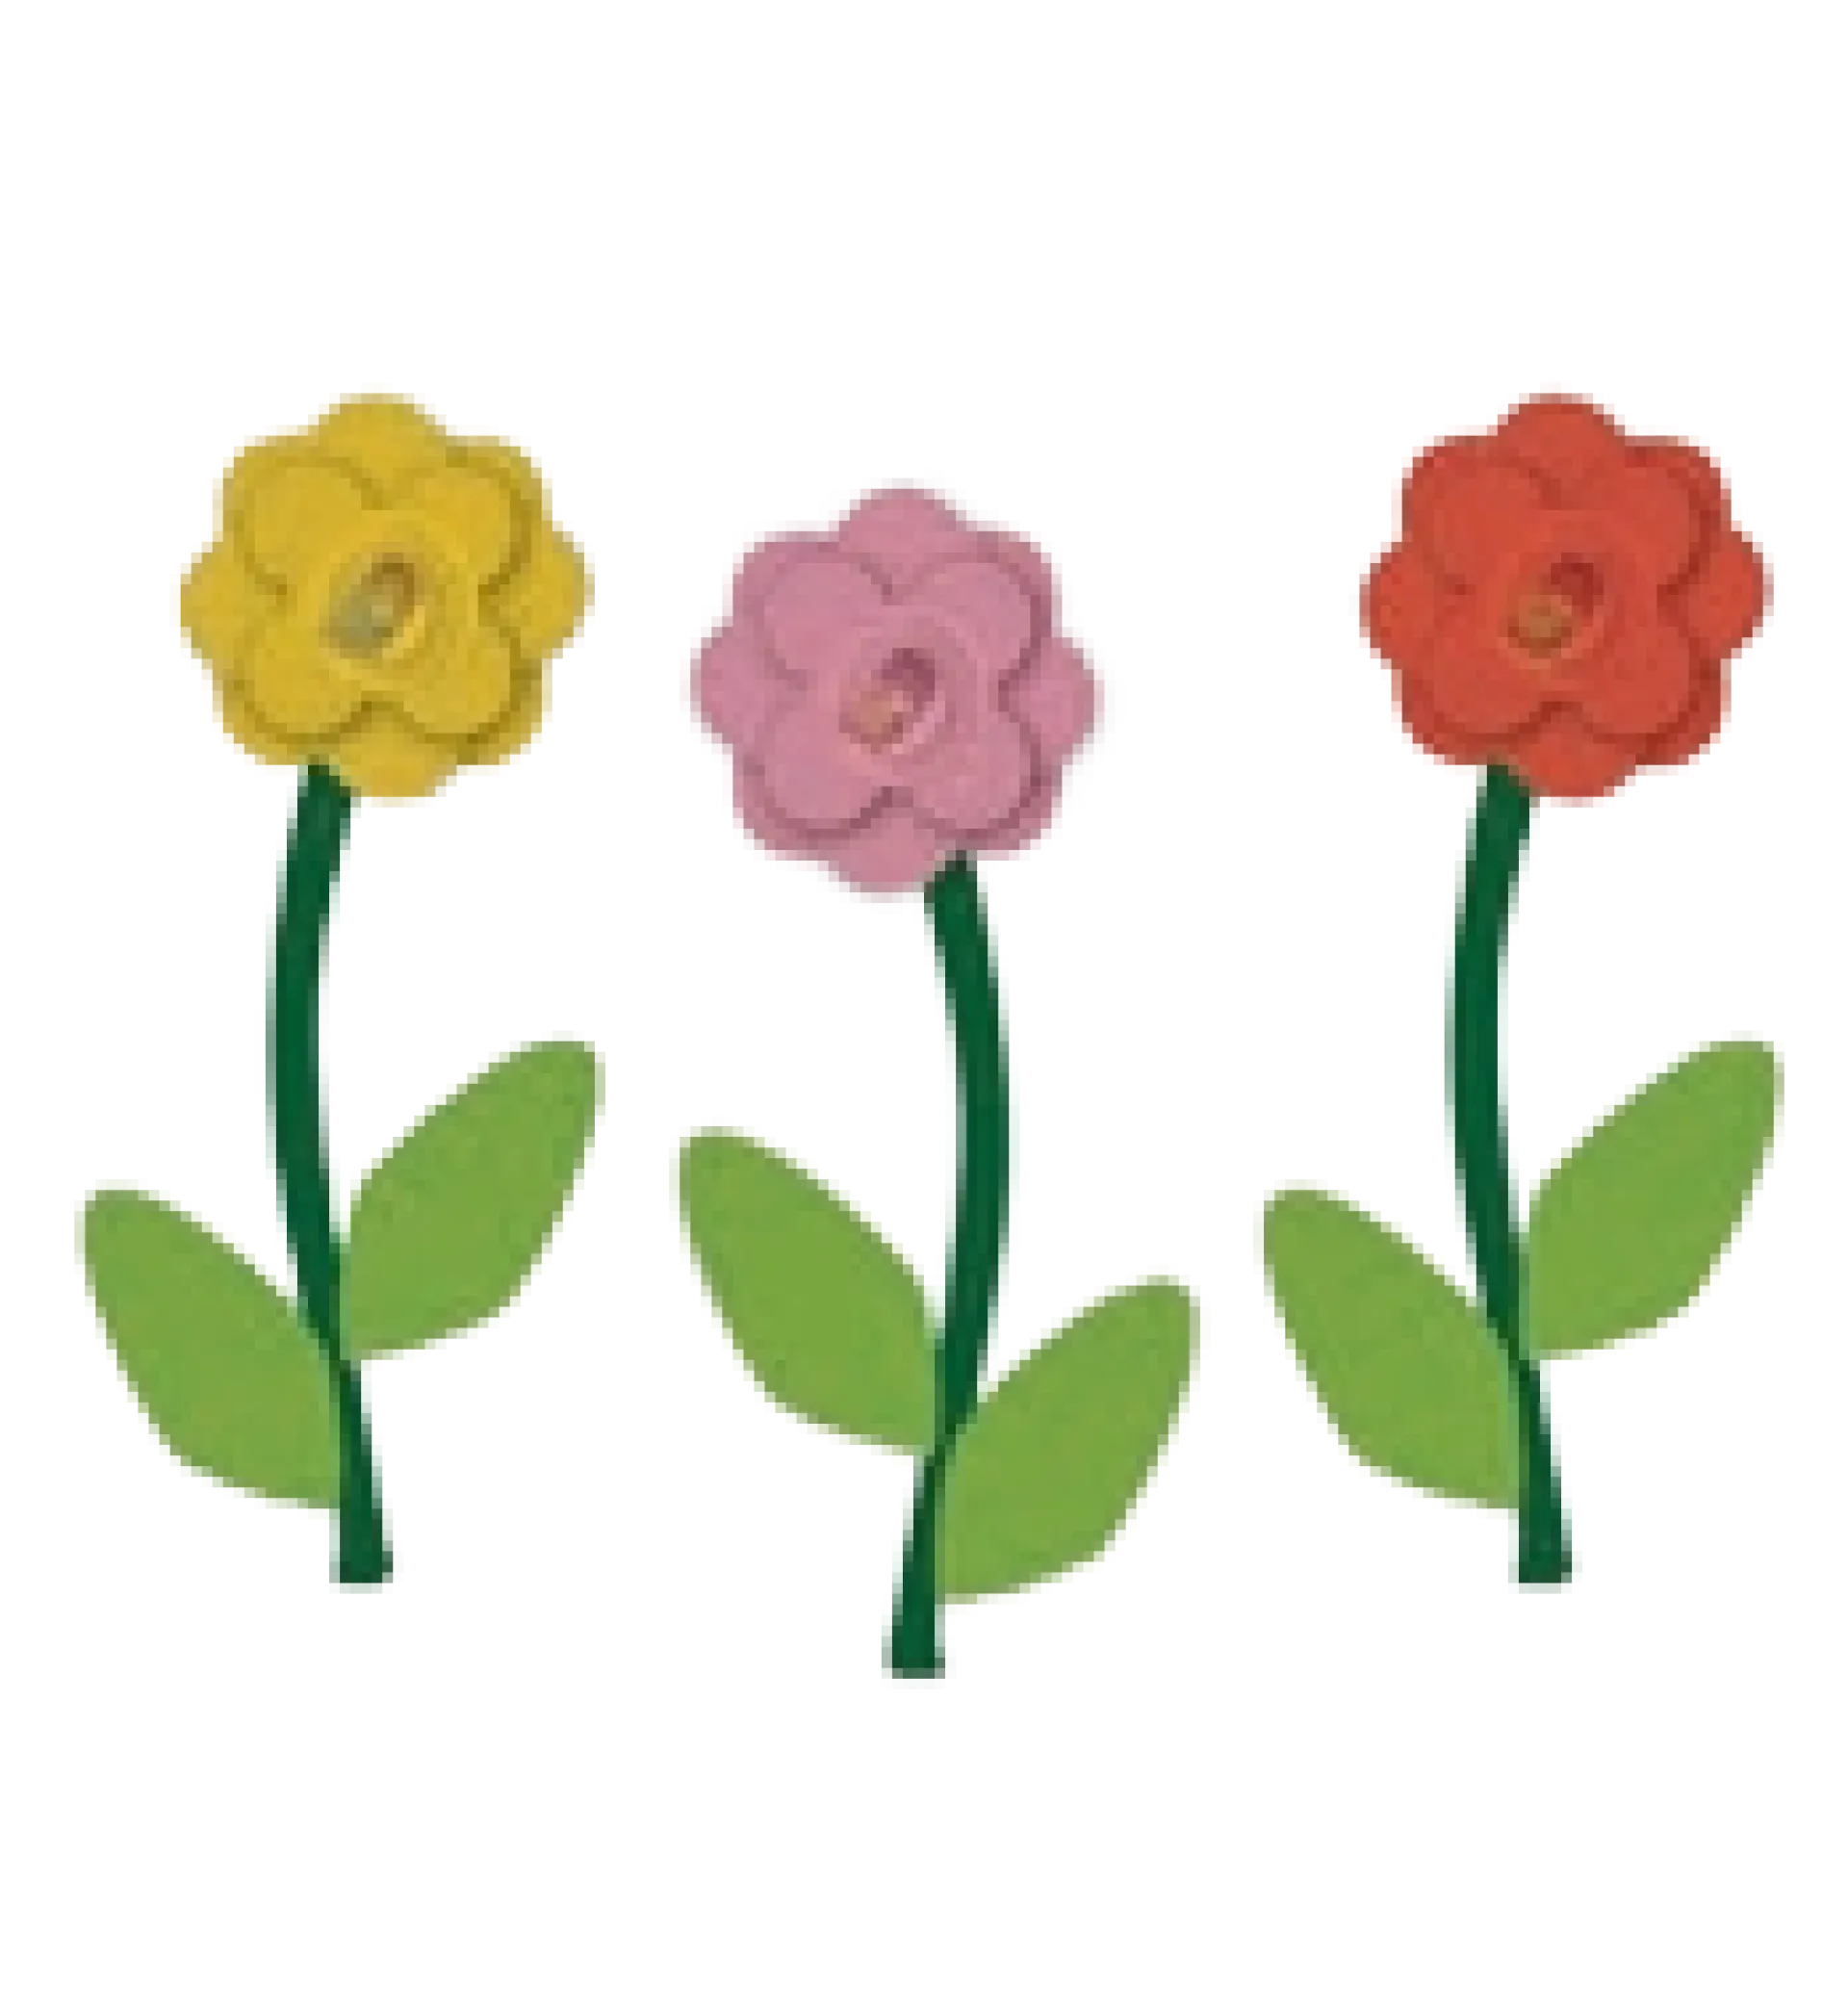
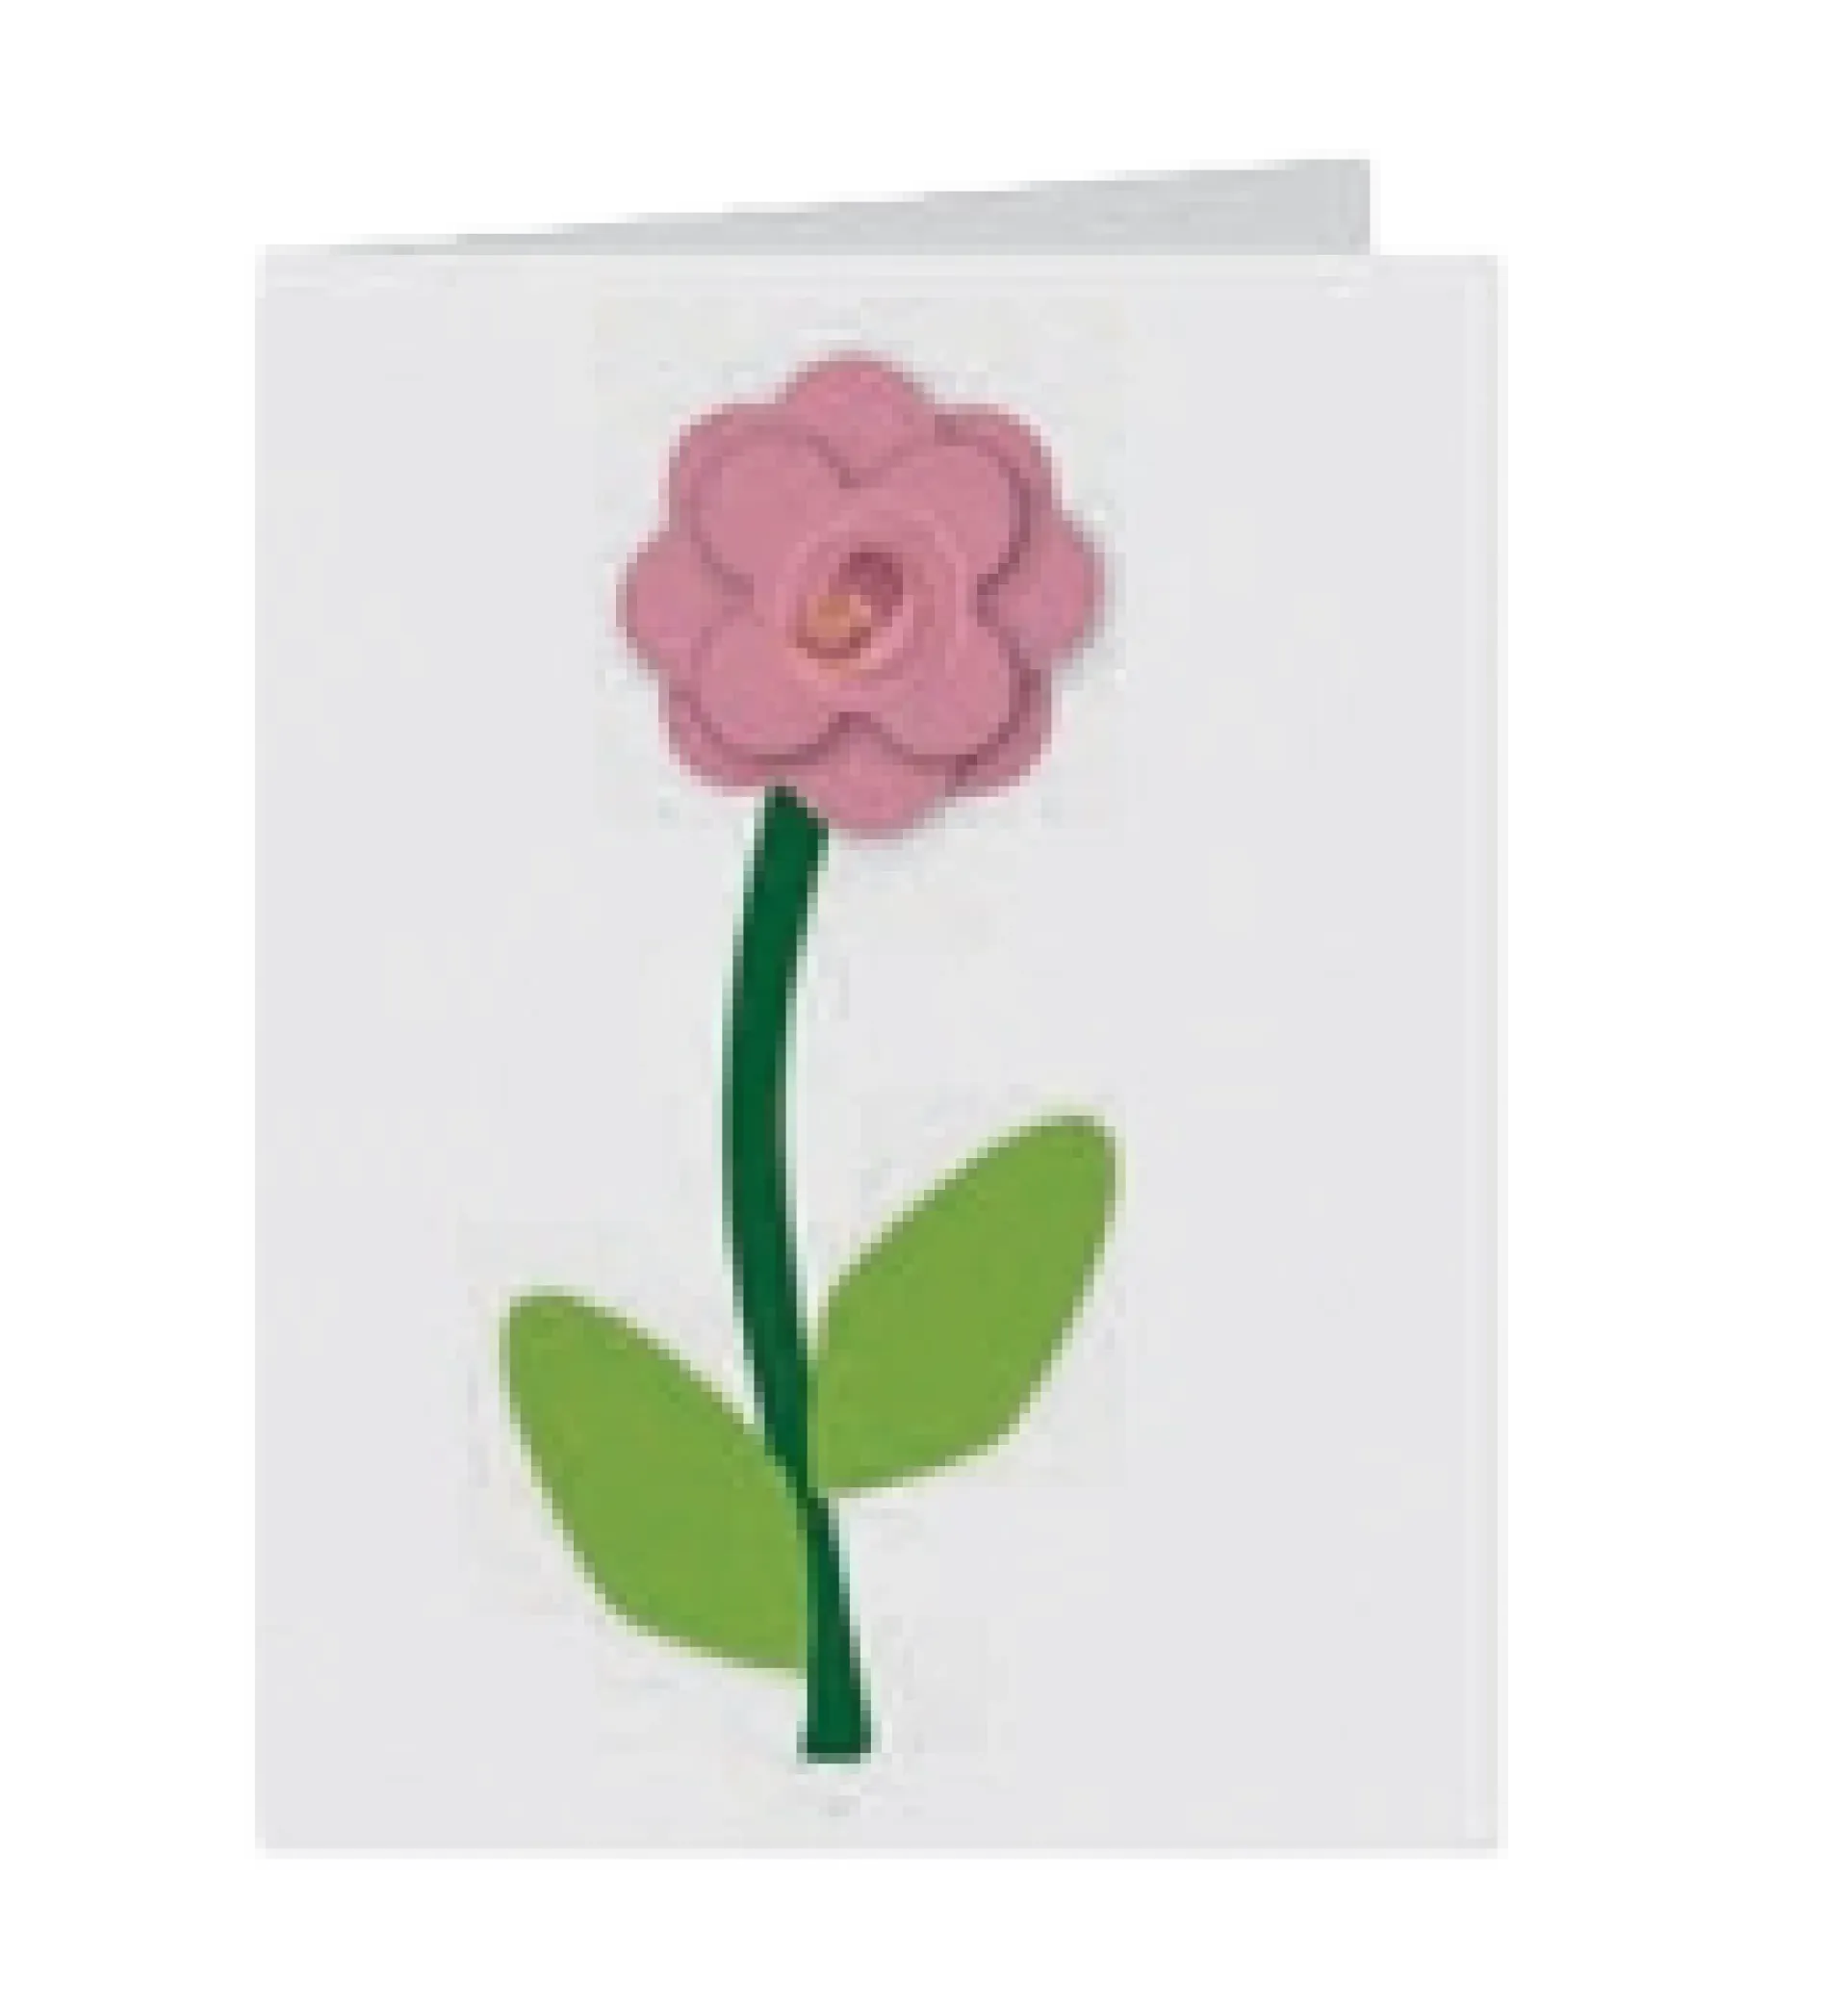
Take your piece of card and position the stem and leaves - glue them in place. Position your flowers on next.
You've finished!
You can add as many flowers as you like to your picture. You can save or download these steps for later using the button below.
Keep the Keto Klub fun going!